DBI SALA ExoFit NEX 1113788 매뉴얼 - 페이지 4
{카테고리_이름} DBI SALA ExoFit NEX 1113788에 대한 매뉴얼을 온라인으로 검색하거나 PDF를 다운로드하세요. DBI SALA ExoFit NEX 1113788 16 페이지. Full body suspension harness

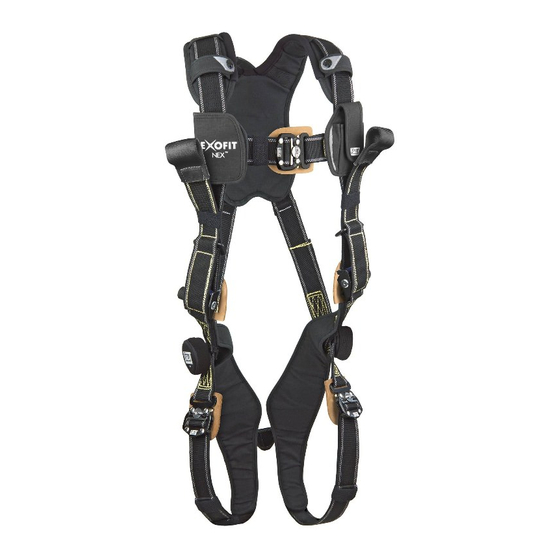
3.10 Donning AnD Fitting the no-step suspension hArness: This model of the ExoFit NEX™
Suspension Harness does not require the user to step into the harness when donning. It includes leg straps
for work positioning. Don the No-Step Full Body Suspension Harness using the following steps and the
corresponding images in Figure 4.
step 1.
Locate the front of the harness. The front has two D-Rings. Lift up the harness and hold by the
back D-Ring. Ensure all straps are not twisted.
step 2.
With the front of the harness facing forward, insert your left arm through the harness between
the front and back straps. Then, lift the harness over your head, place your head between the
front straps and lower the harness until the front straps lie flat on your shoulders. The two
D-Rings will be positioned on the front of your body if the harness has been donned properly.
step 3.
Insert the buckle tab into the receptor of the quick connect buckle located at waist-level on the
right side of the harness. You will hear a click when the tab engages properly.
note: Locking
between the sliding bar and slot on the female end of the quick connect buckle. It does
not control engagement or disengagement of the buckle ends and will not affect the buckle
connection in the event of a fall.
step 4.
Reach between your legs and grasp the inner leg strap on your left side. Bring the strap up and
insert the tab of the buckle into the receptor of the buckle on the left side. You will hear a click
when the tab engages properly.
step 5.
Reach between your legs and grasp the inner leg strap on your right side. Bring the strap up and
insert the tab of the buckle into the receptor of the buckle on the right side. You will hear a click
when the tab engages properly.
step 6.
Insert the buckle tab into the receptor of the quick connect buckle located on the right side of
the leg strap on the right side of your body. You will hear a click when the tab engages properly.
To adjust the leg straps, unlock
strap. A plastic end keeper on the end of the strap will stop it from pulling completely out of
the buckle. When the strap is properly adjusted, lock
press the silver-colored tabs on the buckle towards each other with one hand, while pulling on the
tab portion of the buckle with the other hand.
step 7.
Adjust shoulder straps to a snug fit using the strap adjustment procedure described between
Steps 4 and Step 5 on the following page. Left and right sides of the shoulder straps should be
adjusted to the same length and the upper front D-Ring should be centered on your lower chest.
The back D-Ring should be centered between your shoulder blades. Adjust the leg straps to a
snug fit. At least 3 in. (8 cm) of webbing must extend past the buckle on the leg straps. Adjust
the waist belt again as necessary for a secure, comfortable fit.
and unlocking
the webbing lock prevents or allows the strap to slide
the webbing lock on the quick connect buckle and pull on the
4
the webbing lock. To release the buckle,
