Cell Dynamics W8 첫 설치 매뉴얼 - 페이지 4
{카테고리_이름} Cell Dynamics W8에 대한 첫 설치 매뉴얼을 온라인으로 검색하거나 PDF를 다운로드하세요. Cell Dynamics W8 7 페이지. Physical cytometer
Step 2
Open the wooden shipping case.
Step 3
Take out the W8 Physical Cytometer User Manual and the W8 Physical Cytometer Quick Start Guide.
Step 4
Carefully remove the couple of Styrofoam boxes and placed them vertically on a table.
The first one includes:
• 250 mL Waste bottle
• W8 Power source cable
• Power supplier
• One USB 3.1 SuperSpeed cable
• One standing legs regulation key
• One optic regulation key
The second one includes:
• Three Corning® 15 mL centrifuge tubes (Vessel A, Vessel B and Sample Holder tube)
• One Corning® 50 mL centrifuge tubes to be used for the W8 Analysis Solution
• the W8 Chip box. NOTE: This box is empty: the W8 Chip is already inserted in the W8 Physical
Cytometer to prevent any damage throughout the shipment.
• Two W8 Analysis Solution bottles (250 mL)
Step 5
The W8 Physical Cytometer is shipped as already assembled. The instrument is safely packaged
inside a carton box and protected with cushioning material.
• Carefully take out the carton box and placed it vertically on a table.
• Open the box and carefully take out the W8 instrument.
• Place the W8 Physical Cytometer vertically onto an anti-vibration support (i.e. Atomic Force
Microscopy benchtop).
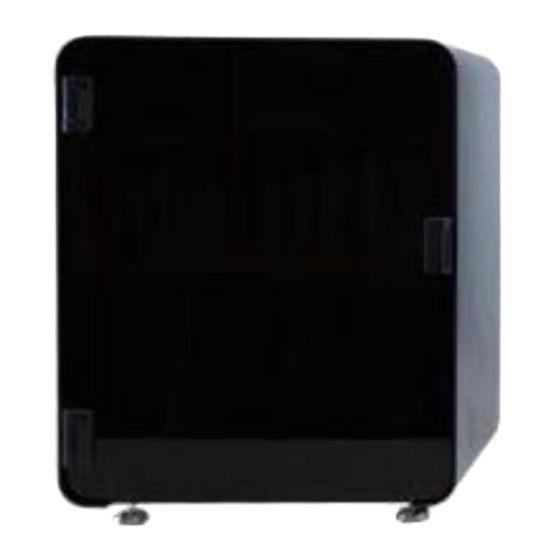
NOTE: The vertical position is achieved by orienting the
instrument in a manner that the "UP" arrow in Fig. 2 remains
upwards and orthogonally with respect to the horizontal
plane. The instrument must be maintained vertical at any
moment. Never incline the instrument on any side for any
reason. A bubble level, on the top panel, would help to
maintain the correct inclination.
Fig. 2. W8 Physical Cytometer orientation.
NOTE: Vessel A, Vessel B, the Sample Holder tube and the 50 mL W8 Analysis Solution tube are
already closed with their specific W8 Caps and inserted in their relative lodgings inside the W8
Physical Cytometer.
NOTE: the W8 Chip is already inserted in the W8 Physical Cytometer to prevent any damage
throughout the shipment.
NOTE: One 0.45 µm air filter and the connection tube for the 250 Waste bottle are already mounted.
Step 6
Transport the instrument with care. Excessive vibrations can cause damages as well as dropping
the instrument. This may occur even when it is packed. In any case, handle and transport the
instrument following the safety guidelines for heavyweight transportation in order to prevent injuries.