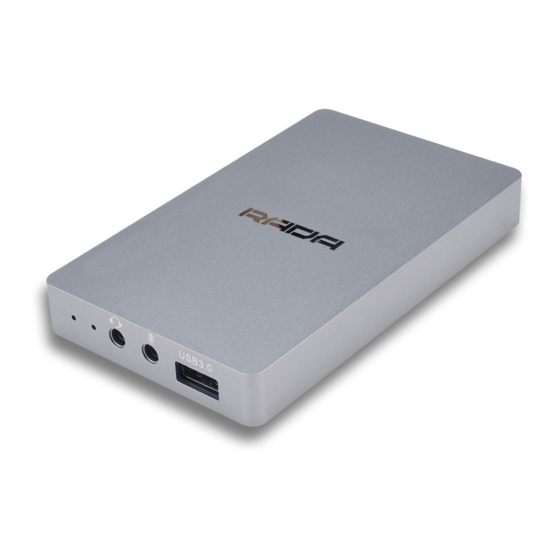
Adena RADA A-BR01 빠른 설치 매뉴얼 - 페이지 3
{카테고리_이름} Adena RADA A-BR01에 대한 빠른 설치 매뉴얼을 온라인으로 검색하거나 PDF를 다운로드하세요. Adena RADA A-BR01 4 페이지. Record, stream and videoconference with rada bridge

Hangouts
Step 1. Connect the BRIDGE to your computer via USB.
Step 2. Open Hangouts, click on "Settings".
Step 3. In "Devices" Tab, select "Camera" to be "RADA Bridge".
Step 4. Select "Microphone" to be "Digital Audio Interface (RADA
Bridge)"*.
Step 5. Now connect the device you want to convert to the BRIDGE.
Done!
OBS
Step 1. Connect the BRIDGE to your computer via USB.
Step 2. Open OBS, under "Sources", press on "+".
Step 3. Select "Video Capture Device".
Step 4. Select "Create New" and press "Ok".
Step 5. In "Device" tab, select "RADA Bridge".
Step 6. Select "Audio Input Capture", in Device Tab, select "Digital
Audio Interface (RADA Bridge)"*
Step 7. Now connect the device you want to convert to the BRIDGE.
Done!
HDMI to USB BRIDGE can be used in the same way in many other
applications. Just select it as your camera and enjoy!
* Select BRIDGE as a microphone only if you want to transfer HDMI
audio or add voice over. You can connect a headset (audio in/out) to
the headset jack to add an extra audio layer and to hear playback. You
can connect a microphone to the mic jack to overwrite HDMI sound
with mic audio. Both jacks can be used at the same time. Microphone
in the mic jack will have lower sound when used with the headset jack.
PACKAGE CONTENT
A-BR01 - HDMI to USB BRIDGE
USB 3.0 Type A cable
AUX cable
USB Type A to USB Type C adapter
Quick Installation Guide
