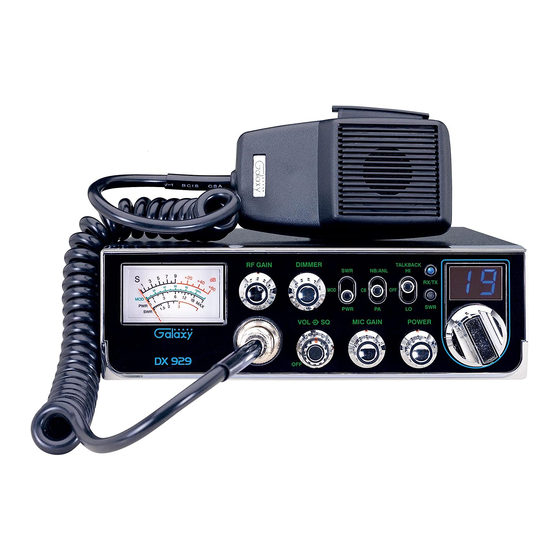
Galaxy DX 929 소유자 매뉴얼 - 페이지 6
{카테고리_이름} Galaxy DX 929에 대한 소유자 매뉴얼을 온라인으로 검색하거나 PDF를 다운로드하세요. Galaxy DX 929 11 페이지. Two way citizens band mobile transceiver with starlite face plate

PROCEDURE TO RECEIVE AND TRANSMIT
A. MICROPHONE
The push-to-talk switch on the microphone controls the receiver and transmitter.
Press the switch and the transmitter is activated, release switch to receive. When
transmitting, hold the microphone two inches from your mouth and speak clearly in a
normal voice. This transceiver comes complete with a low impedance dynamic
microphone.
B. PROCEDURE TO RECEIVE
1. Be sure that power source, microphone and antenna are connected to the proper
connectors before going to the next step.
2. Turn VOL knob clockwise to apply power to the radio.
3. Set the VOL for a comfortable listening level.
4. Set the MODE switch to the desired mode.
5. Listen to the background noise from the speaker. Turn the SQ knob slowly
clockwise until the noise just disappears. The SQ is now properly adjusted. The
receiver will remain quiet until a signal is actually received. Do not advance the
control too far or some of the weaker signals will not be heard.
6. Set the CHANNEL selector switch to the desired channel.
C. PROCEDURE TO TRANSMIT
1. Select the desired channel of operation.
2. Set the MIC GAIN control fully clockwise.
3. If the channel is clear, depress the push-to-talk switch on the microphone and
speak in a normal voice.
- 10 -
ALTERNATE MICROPHONES AND INSTALLATION
For best results, the user should select a low-impedance dynamic type microphone
or a transistorized microphone. Transistorized type microphones have low output
impedance characteristics. The microphones must be provided with a four-lead cable.
The audio conductor and its shielded lead comprise two of the leads. The third lead is
for transmit control and fourth is for receiving control.
The microphone should provide the functions shown in the schematic below.
4 WIRE MIC CABLE
Pin Number
1
2
3
4
Fig. 1 Your transceiver microphone schematic.
If the microphone to be used is provided with pre-cut leads, they must be revised as
follows.
1. Cut leads so that they extend 7/16" beyond the plastic insulating jacket of the
microphone cable.
2. All leads should be cut to the same length. Strip the ends of each wire 1/8" and tin
the exposed wire.
Mic Cable Lead
Audio Shield
Audio Lead
Transmit Control
Receive Control
- 11 -
