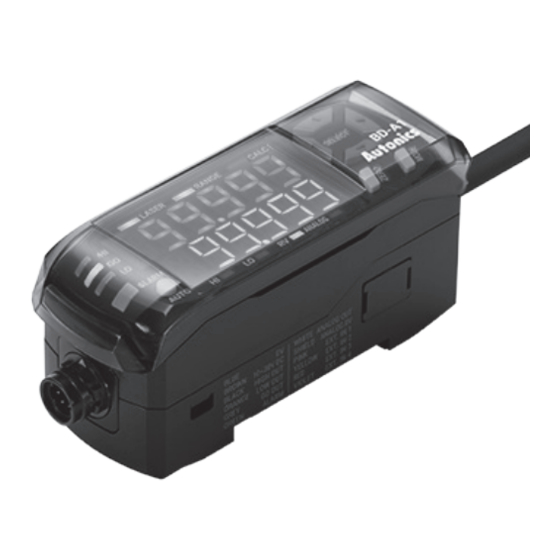
Autonics BD Series 매뉴얼 - 페이지 8
{카테고리_이름} Autonics BD Series에 대한 매뉴얼을 온라인으로 검색하거나 PDF를 다운로드하세요. Autonics BD Series 14 페이지. Laser displacement sensors amplifier unit
Autonics BD Series에 대해서도 마찬가지입니다: 제품 설명서 (6 페이지), 제품 설명서 (5 페이지), 제품 설명서 (3 페이지)

-|Transparent setting
▣ Mounting and Connecting Methods
◎ Sensor head Mounting
M3 bolt
Emission
center line
• Check the mounting position considering emission center line,
vibration and shock.
• Mount to the panel directly or through the bracket by using M3
bolt and nut.
• Tighten the bolt with 0.5N·m torque when mounting.
◎ Amplifier unit Mounting
Mounting with bolt
• Mounting without DIN rail is possible by using bracket.
• The method of mounting and detaching with bracket is as same
as DIN rail.
Mounting on DIN rail
• Mounting
• Detaching
ⓐ
ⓑ
◎ Ferrite core (accessory)
Sensor head
• Within 30mm from the sensor head,
wind the cable through the inside of the
ferrite core three times and mount the
ferrite core.
Extension cable (sold separately)
• Within 30mm from the connector of
amplifier unit, wind the cable through the
inside of the ferrite core three times and
mount the ferrite core.
guide|-
M3 nut
① Insert the bottom holder of
amplifier unit to 35mm
width DIN rail.
② Push the front part of the
unit to arrow direction
to mount.
① Side amplifier unit
to ⓐ direction.
② Pull the assembly part
to ⓑ direction to detach.
Laser Displacement Sensor
◎ Connecting to amplifier unit
① Connecting: Insert connector of the sensor head into amplifier
unit with aligning ↑ mark and ▲ mark until it sounds click.
② Disconnecting: Pull out the connector cap of sensor head to
the opposite direction.
※Do not supply the power when connect / disconnect sensor head
to amplifier unit.
◎ Connecting amplifier units mutually
①
③
① Remove the side cover at the connecting side.
② Connect the side connector to the units.
③ After mounting amplifier unit on DIN rail,
push it to arrow direction tightly.
※In case of disconnecting, follow the upper sequence reversely.
Distinguishing master/slave amplifier units
• When the power cable direction is down, the amplifier at the
left end is the master unit, and the channel number of slaves
increases sequentially to the right.
Master
Precautions when connecting amplifier unit
• Mount on DIN rail.
• Do not supply the power when adding amplifier unit.
• Supply power to each connected amplifier unit at the same time.
• Up to 8 amplifier units can be connected, and only 1 calculation
function can be performed per 1 group of mutually connected
amplifiers.
• When the calculation function is activated, the setting values (SV)
of the slave units are disable and the mutual interference
prevention function for sensor heads is executed automatically.
②
Slave
※Max.
8 units
E-13
-13
