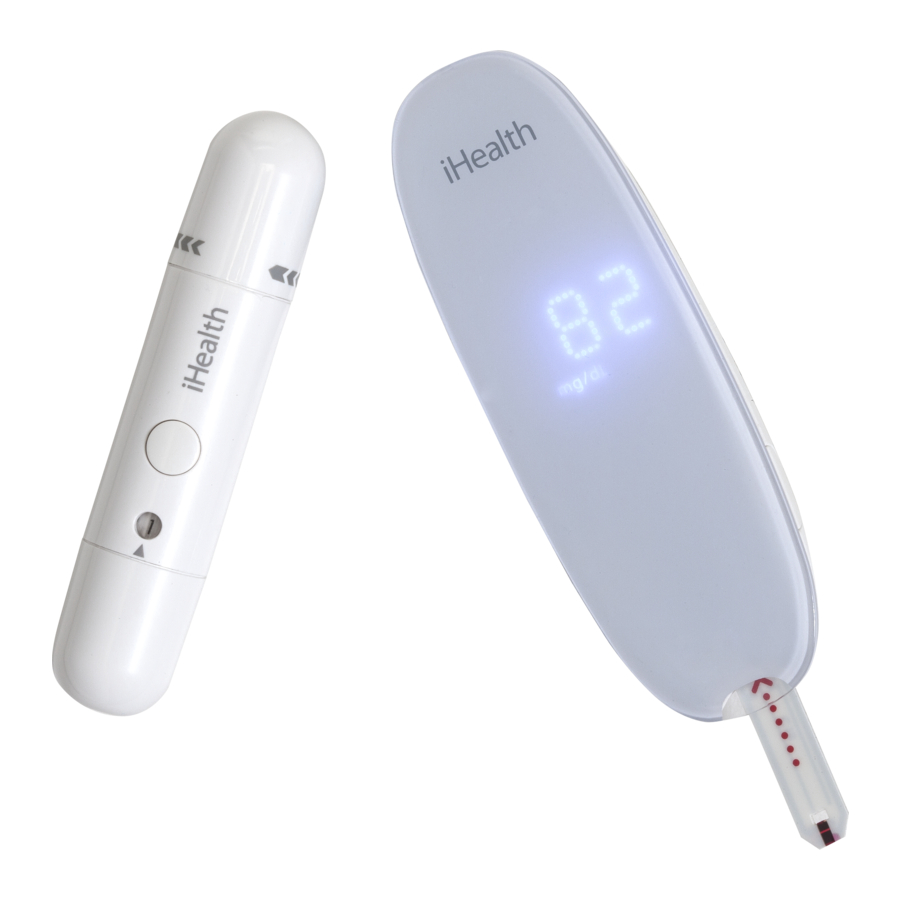
iHealth BG5 빠른 시작 매뉴얼 - 페이지 4
{카테고리_이름} iHealth BG5에 대한 빠른 시작 매뉴얼을 온라인으로 검색하거나 PDF를 다운로드하세요. iHealth BG5 7 페이지. Wireless smart gluco-monitoring system
iHealth BG5에 대해서도 마찬가지입니다: 빠른 시작 매뉴얼 (13 페이지), 소유자 매뉴얼 (16 페이지), 빠른 시작 매뉴얼 (2 페이지)

4. Launch
the
app
to
connect
the
meter
to
the
app.
The
Bluetooth
symbol
"
remain
l it
o n
t he
m eter.
Note:
Repeat
steps
1-‐4
when
switching
to
a
different
iOS
or
Androiddevice,
making
sure
to
un-‐pair
o r
f orget
t he
m eter
o n
t he
p revious
d evice.
.
S can
t he
t est
s trip
v ial
Caution:
Please
carefully
read
and
follow
the
instructions
below
to
avoid
getting
inaccurate
test
results
a nd/or
t est
s trips
t racking
e rrors.
Connect
your
mobile
device
to
the
Internet
and
open
the
Gluco-‐Smart
App.
When
the
glucose
meter
is
connected
to
the
mobile
device,
scan
the
QR
code
on
the
top
of
the
iHealth
test
strip
vial
t o
c alibrate
t he
t est
s trips
w it
t he
m eter.
Y ou
m ust
s can
t he
Q R
c ode
e ach
t ime
a
n ew
v ial
i s
opened.
When
all
25
strips
in
a
vial
have
been
used,
time
to
open
a
new
vial,
and
the
meter
will
shut
off
automatically.
The
meter
does
not
take
any
measurement
w hen
" Er
d "
a ppears
o n
t he
m eter.
.
T est
b lood
g lucose
l evel
If
you
have
synced
your
meter
to
the
app
on
your
mobile
device,
scanned
the
QR
code
of
a
test
strip
v ial,
a nd
w ant
t o
t ake
a
r eading
w ith
t he
a pp:
[1]
M ake
s ure
B luetooth
i s
t urned
o n
t o
c onnect
t he
m eter
t o
t he
a pp
o n
y our
m obile
d evice.
If
you
have
synced
your
meter
to
the
app
on
your
mobile
device,
scanned
the
QR
code
of
test
strip
v ial,
a nd
w ant
t o
t ake
a
r eading
w ithout
t he
a pp
l aunched:
S kip
s tep
[ 1].
[2]
I nsert
t he
t est
s trip
i nto
t he
m eter's
s trip
p ort.
Insert
t he
t est
s trip
i nto
t he
s trip
p ort
w ith
t he
c ontact
b ars
f acing
t oward
y ou.
[3]
P repare
t he
l ancing
d evice.
① Snap
o ff
t he
l ancet
d evice
c ap
②
Insert
a
n ew
l ancet
f irmly
i nto
t he
l ancing
h older
c up
appears
on
the
meter
to
alert
you
that
it
is
"will
flash
and
