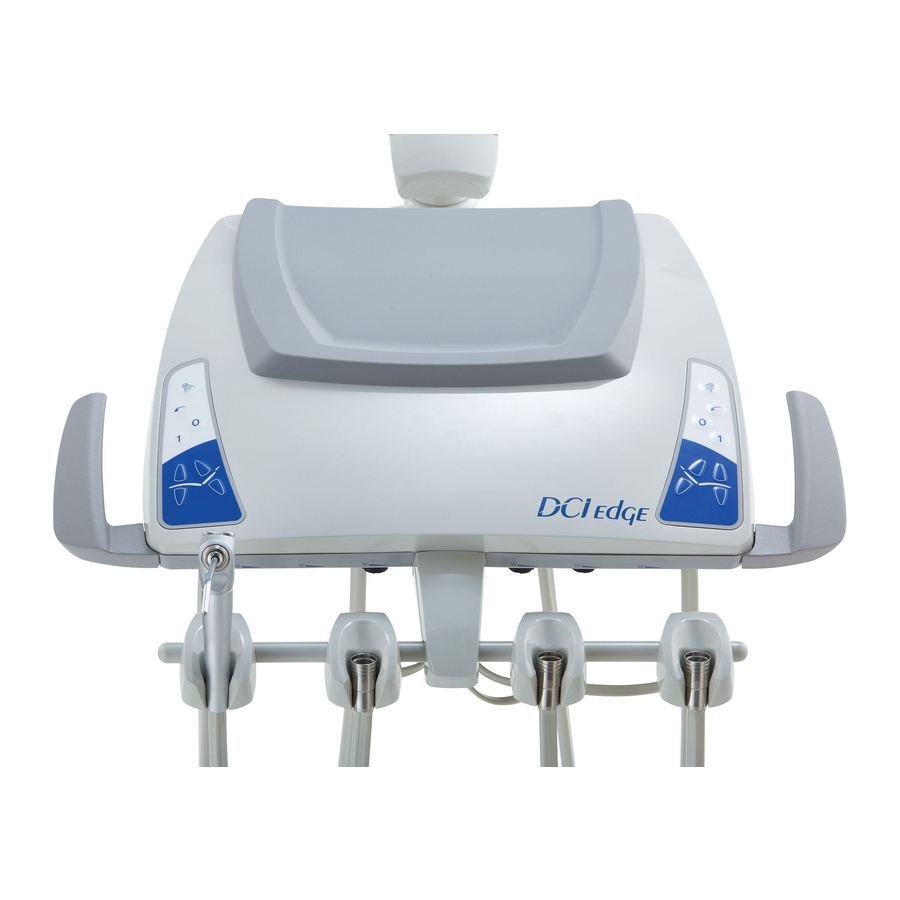
DCI Edge SERIES 5 설치 지침 매뉴얼 - 페이지 8
{카테고리_이름} DCI Edge SERIES 5에 대한 설치 지침 매뉴얼을 온라인으로 검색하거나 PDF를 다운로드하세요. DCI Edge SERIES 5 11 페이지. Side delivery system
DCI Edge SERIES 5에 대해서도 마찬가지입니다: 설치 지침 매뉴얼 (12 페이지), 사용 설명서 지침 (8 페이지), 설치 지침 매뉴얼 (14 페이지), 설치 지침 매뉴얼 (13 페이지), 사용 설명서 지침 (19 페이지)

SERIES 4 & SERIES 5 12 O'CLOCK CABINET
Installation Instructions
INSTALLATION
INSTALLING THE CHASE
1
Remove the front panel from the Chase.
2
Center the Chase on the counter of the Lower Module.
If mounting to a wall, drill and screw the back of the chase
3
to the wall studs using the screws provided. Use toggle
bolts if no studs align with the chase.
If mounting to a Support Wall, drill and attach the Chase
directly to the Support Wall using the wood screws provided.
INSTALLING THE UPPER CABINET
1
Remove the doors and shelves from the upper module to make it easier to lift.
2
With a helper, hang the Upper Module on the hanging rail located on the wall (see page 6) or on the Support Wall.
3
Ensure that all brackets are engaged on the rail.
4
Adjust the attachment at the rail as follows using a
Pozidrive #2 screwdriver:
Level the Upper Cabinet using the brackets which are
located in the upper corners of the Upper Cabinet.
Make small adjustments to each bracket so as to
ensure that they stay mounted on the rail.
The top screw of the bracket will raise or lower the
Upper Cabinet on each corner. Turning the screw
clockwise raises the cabinet. Counterclockwise
lowers it.
Once leveling is complete, use the lower screw of the
bracket to draw the Upper Cabinet to the wall.
8
NOTE: ALWAYS use a #2 Pozidrive screwdriver when making adjustments to the hanging brackets
which are located in the upper corners of the Upper Cabinet.
