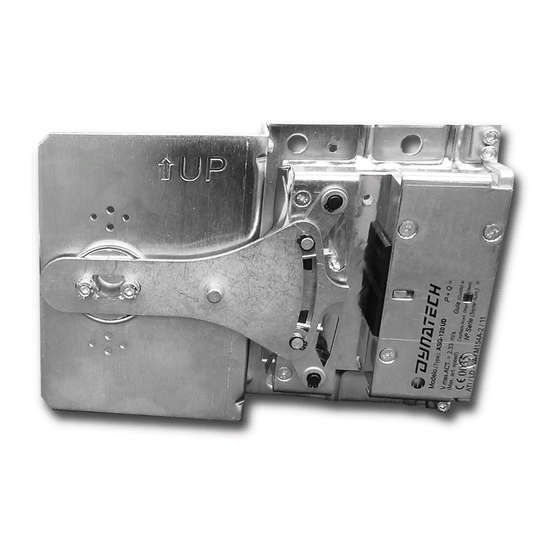
Dynatech PR-2000 UD 사용 설명서 지침 - 페이지 6
{카테고리_이름} Dynatech PR-2000 UD에 대한 사용 설명서 지침을 온라인으로 검색하거나 PDF를 다운로드하세요. Dynatech PR-2000 UD 11 페이지.
Dynatech PR-2000 UD에 대해서도 마찬가지입니다: 사용 지침 및 유지 관리 매뉴얼 (18 페이지)

INSTRUCTIONS: REPLACEMENT/SAFETY GEAR; Code: DYN 32.03.00
Date: 29/06/2016
Revision: 00
7. If the safety gear type has to be changed with the shoe, the fastener block must also be replaced for
the corresponding type, which is marked with a letter identifying it. There are two symmetrical parts
that are inserted as shown in Figure5. One part should be replaced first, followed by the other, so as
not to leave the block loose. This part is to adjust the distance between the shoe and the guide rail
centre. If they are not replaced, the distance between the guide rail centre and frame attachments
will not correspond to those in the safety gear (DYN 32) usage and maintenance instructions.
Figure5 Replacing the attachment block part and symmetrical block attachment
8. Place the identification sticker on the upper part, as shown in Figure1.
9. Explanatory video link (registered customers only):
http://customers.dynatech-elevation.com/download.php?file=imagenes/documentos/doc-00595.mp4
2.2 PR-2500 UD/ PQ-3400 UD/ PQ-4000 UD
There are two types of PR-2500 UD V50/ PQ-3400 UD/ PQ-4000 UD safety gear depending on the thickness
of the shoe assembled. The safety gear types refer to the guide rail centre position in relation to the frame
attachment holes, which are in accordance with the measurement recommended in the safety gear usage
and maintenance instructions. Thus, the gap between the shoe and guide rail established by Dynatech is
observed.
TYPE
THICKNESS (mm)
A
7-8-9-10
11-12-13-14-15-16
B
6
