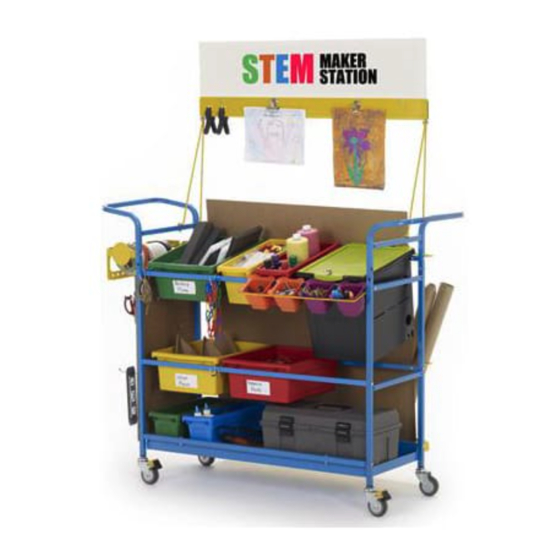
Copernicus STEM100 조립 설명서 - 페이지 12
{카테고리_이름} Copernicus STEM100에 대한 조립 설명서을 온라인으로 검색하거나 PDF를 다운로드하세요. Copernicus STEM100 18 페이지. Maker station
Copernicus STEM100에 대해서도 마찬가지입니다: 조립 설명서 (16 페이지)

Actual Size:
10
You will need:
Attach the Top Metal Channel to the Sign Rods
Metal Loops should be facing
the back of the cart.
Actual Size:
11
You will need:
Screwdriver
Install Coroplast Sign
12
STEM100_STEM102 - Version B - Released 01 December 2014 - Copernicus Educational Products Inc.
G
2x
(Not to Scale)
Sign - Top Metal Channel
1x
F
2x
(Not to Scale)
F
I
G
I
2x
Sign Coroplast
1x
F
G
I
