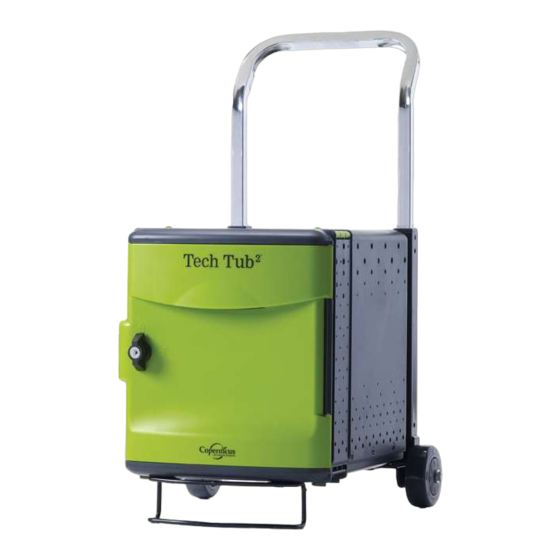
Copernicus Tech Tub2 조립 설명서 - 페이지 9
{카테고리_이름} Copernicus Tech Tub2에 대한 조립 설명서을 온라인으로 검색하거나 PDF를 다운로드하세요. Copernicus Tech Tub2 14 페이지. Modular cart system
Copernicus Tech Tub2에 대해서도 마찬가지입니다: 조립 설명서 (16 페이지), 조립 설명서 (2 페이지), 조립 설명서 (20 페이지), 조립 설명서 (13 페이지), 조립 설명서 (16 페이지)

You will need:
1
Attach Power Box Door to bottom of Tech Tub
Snap door into corresponding holes found on inside bottom face of tub
You will need:
2
Install Power Strip or 10 Outlet USB Hub
Power Strip
TURN POWER
SWITCH ON
9
FTT600_FTT600-USB - PATENT PENDING- Version C - Released December 15, 2017 - Copernicus Educational Products Inc.
(Not to Scale)
Power Box Door
x1
6 outlet Power Strip
(Not to Scale)
x1
Leave some slack on the
Leave some slack on the
Leave some slack on the
cord so it is easier to
cord so it is easier to
cord so it is easier to
access the outlets.
access the outlets.
access the outlets.
®
2
10 Outlet USB Hub
x1
OR
10 Outlet USB Hub
OR
TURN POWER
SWITCH ON
Push bottom of door into holes
until you hear a SNAP!
Look at the underside of the tub to
ensure all the Power Door snaps
are fully engaged.
Leave some slack on the
Leave some slack on the
cord so it is easier to
cord so it is easier to
access the outlets.
access the outlets.
Wrap excess cord
around power adapter.
