Copernicus Tech Tub2 FTT2010-USB-UV 조립 설명서 - 페이지 7
{카테고리_이름} Copernicus Tech Tub2 FTT2010-USB-UV에 대한 조립 설명서을 온라인으로 검색하거나 PDF를 다운로드하세요. Copernicus Tech Tub2 FTT2010-USB-UV 11 페이지. Trolley with uv tub
Actual Size:
3
FTT706-UV
ONLY
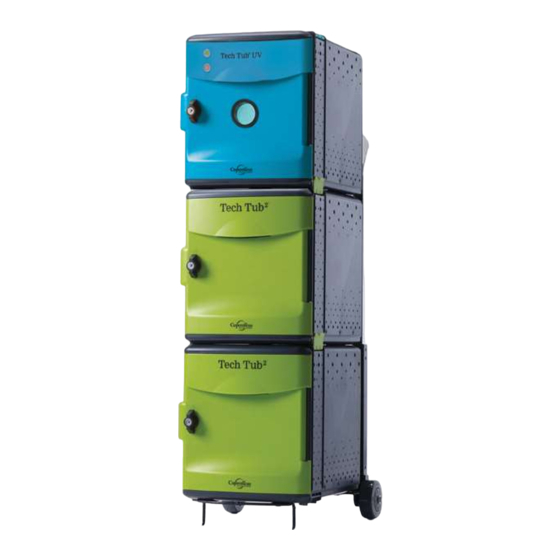
Attach the Tech Tub to the Trolley Frame
1
Fit Trolley Onto Back of Tech Tub
!
Ensure the tabs on the base of the trolley are
fully inserted into the feet on the Tech Tub .
1
7
FTT706-UV_2010-UV_2010-USB-UV - Version A - Released November 23, 2020 - Copernicus Educational Products Inc.
M5 Washer
F
2x
M5 Lock Nut
G
2x
®
2
FTT2010-USB-UV
M5 Washer
F
4x
FTT2010-UV
FTT2010-USB-UV
ONLY
M5 Lock Nut
G
4x
2
Fasten Hardware Through Inside of Tech Tub
G
2
®
FTT2010-UV
ONLY
2
G
G
You will need:
(Not to Scale)
F
F
G
G
F
F
F
F
G
Trolley
Handle
1x
Trolley
Frame
1x