Copernicus RC201 조립 설명서 - 페이지 13
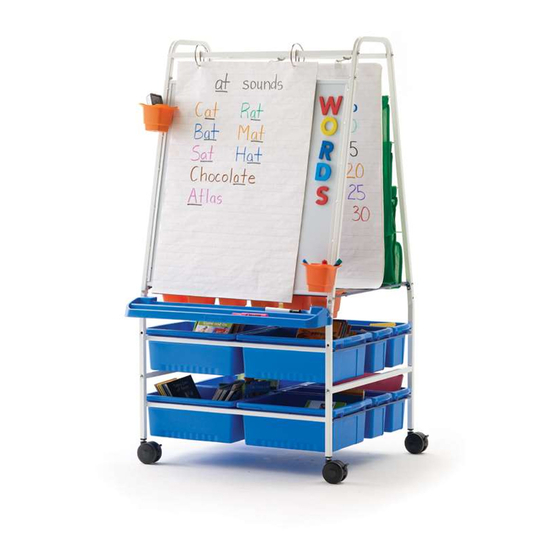
{카테고리_이름} Copernicus RC201에 대한 조립 설명서을 온라인으로 검색하거나 PDF를 다운로드하세요. Copernicus RC201 17 페이지. Reading writing center basic reading writing center
Copernicus RC201에 대해서도 마찬가지입니다: 조립 설명서 (14 페이지)
Actual Size:
10
M6 x 30mm Screw
B
x2
Install Top Whiteboard Channel
Align Whiteboard Down Channel with
1
holes on Left and Right A-Frames
Note: Ensure the tabs on the ends of the
Whiteboard Channel are pointing UP.
Actual Size:
11
M6 x 35mm Screw
A
x2
Install Top Stretcher on the Front Side of the A-Frames
E
A
D
M6 Lock Nut
x2
M6 Lock Washer
E
x2
E
RC201_200 - Version B - December 5th, 2016 - Copernicus Educational Products Inc.
You will need: (Not to Scale)
Whiteboard Channel
x1
Fasten Whiteboard Channel To Frames
2
PRESS DOWN
B
Note: Press down on whiteboard channel
to align holes and insert fasteners.
A
Allen Key
M5/M6 Hex Wrench
Not to Scale
Not to Scale
x1
x1
D
You will need:
(Not to Scale)
Stretcher -718mm
Allen Key
Not to Scale
x1
x1
B
D
13