Copernicus STEM100 조립 설명서 - 페이지 7
{카테고리_이름} Copernicus STEM100에 대한 조립 설명서을 온라인으로 검색하거나 PDF를 다운로드하세요. Copernicus STEM100 16 페이지. Maker station
Copernicus STEM100에 대해서도 마찬가지입니다: 조립 설명서 (18 페이지)
Actual Size:
1A
You will need: (Not to Scale)
STEM100
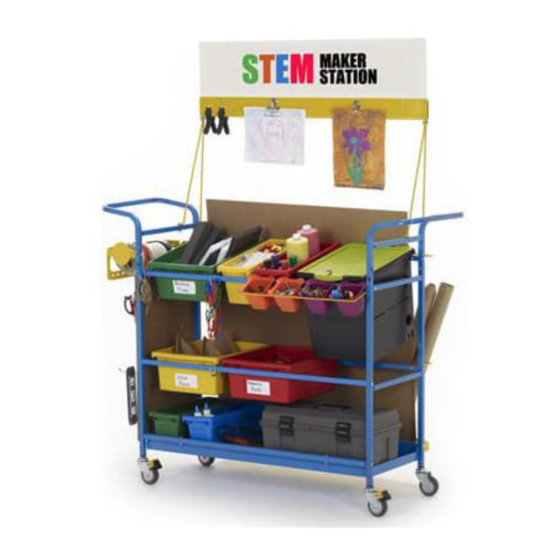
Premium Version: Attach Stretchers and Peg Board to Frame
Note: Proceed to Step 1B if you are assembling STEM102 (Base).
All images will be showing the Premium STEM Maker Station (STEM100) unless otherwise stated.
Do not install
hardware here.
G
A
G
A
Align pegboard mounting
holes before installation.
7
Side Frame
- Left
x1
J
J
G
A
J
J
G
A
STEM100_STEM102 - Version B - Released October 23, 2019 - Copernicus Educational Products Inc.
A
G
x9
x9
Allen Key
(Not to Scale)
Side Frame
x1
- Right
x1
Stretcher
(Do not use stretcher with brass inserts)
x5
A
G
A
G
A
G
J
x4
Peg Board
Pegboard Hooks
x1
x6
G
A
G
Use top hole.
A
G
The hole on the
stretchers should
be facing upwards.
A