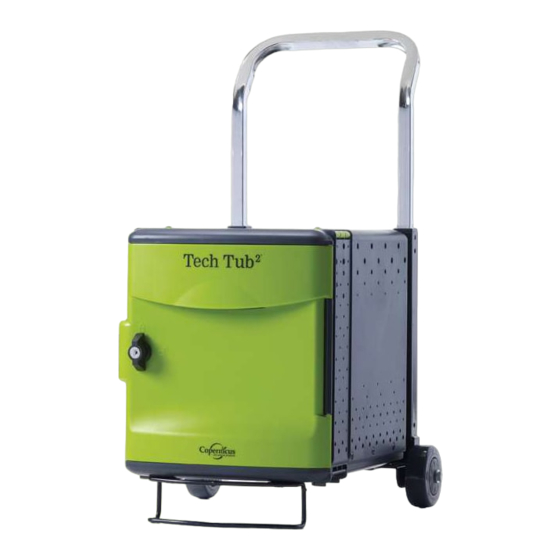
Copernicus Tech Tub2 조립 설명서 - 페이지 2
{카테고리_이름} Copernicus Tech Tub2에 대한 조립 설명서을 온라인으로 검색하거나 PDF를 다운로드하세요. Copernicus Tech Tub2 2 페이지. Modular cart system
Copernicus Tech Tub2에 대해서도 마찬가지입니다: 조립 설명서 (16 페이지), 조립 설명서 (14 페이지), 조립 설명서 (20 페이지), 조립 설명서 (13 페이지), 조립 설명서 (16 페이지)

You will need:
2
Snap Tub Rails onto
Note orientation of Tub Rails when installing them onto tub body. Ensure they are SNAPPED!
Tub Rail - Left
Actual Size:
3
A
You will need:
Use Hardware to Permanently Attach Tub Rails, Slide Cable Pocket Wall Back In
1
Install Left and Right Tub Rails
A
B
Same hardware on right side
FTT-AC1 - Version B - Released July 19th, 2016 - Copernicus Educational Products Inc.
(Not to Scale)
Tub Rail - Left
x1
®
2
Tech Tub Body
Push rails in until
you hear a SNAP
M5x5mm Screw
x4
(Not to Scale)
C
D
Once you have completed the steps in this guide refer to the
FTT600 or FTT1000 AI to complete the setup of your
B
M6 Washer
x4
Cable Pocket
4mm Driver
Wall
Allen Key
1x
(43281)
x2
2
Re-install Cable Pocket Wall
Push wall in until you hear a SNAP
Tub Rail - Right
x1
Tub Rail - Right
C
M6 Lock Washer
x4
®
2
Tech Tub .
D
M5 Barrel Nut
x4
