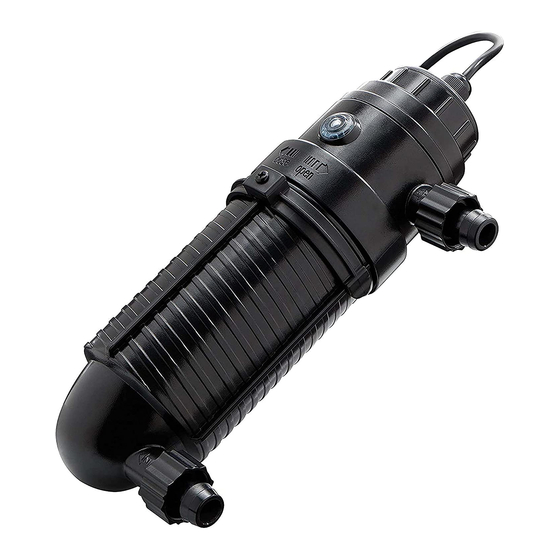
Coralife TurboTwist Series 사용 설명서 - 페이지 5
{카테고리_이름} Coralife TurboTwist Series에 대한 사용 설명서을 온라인으로 검색하거나 PDF를 다운로드하세요. Coralife TurboTwist Series 12 페이지. Uv sterilizer
Coralife TurboTwist Series에 대해서도 마찬가지입니다: 사용 설명서 (6 페이지)

3. Reassembly
Make sure that the flat O-ring gasket is
properly positioned inside the threaded
cap (already installed in unit). Screw the
threaded cap tightly back into place.
4. Attaching the hose lock nuts
➀ Position the hose lock nuts on the
hose-barb inlet and outlet.
HOSE LOCK NUT
Hose barb adapter installation.
➀ Place the O-ring on hose
barb inlet/outlet, watching
for taper orientation.
O-RING
Note: Water will leak if the O-ring is not in place.
5. Installing the Turbo-Twist
Hang-on Positioning
Hang the unit using the Turbo-Twist
bracket and suction cup on the
outside of the aquarium. Adjust
the tank bracket to secure the
Turbo-Twist UV Sterilizer.
➁ Use flexible tubing (not supplied) to connect the sterilizer
FLEXIBLE
TUBING
➁ Hand tighten the hose
barb adapter onto the
Turbo-Twist.
HOSE BARB ADAPTER
AQUARIUM
O-RING GASKET
Note: The plug and cord should be turned together
when screwing the threaded cap back into place.
to the water supply. Turn the hose lock nut counter-
clockwise to tighten flexible tubing onto the hose barb.
Hose lock nuts require only hand tightening.
➂ Use flexible tubing to connect the sterilizer
to the water supply. Turn the hose lock nut
counter-clockwise to tighten flexible
tubing onto the hose barb.
O-RING
FLEXIBLE
TUBING
Horizontal Positioning
Attach Turbo-Twist bracket with screws
on a fixed surface.
Note: Do not use
O-ring when larger
hose barbs are
being used.
SMALL HOSE LOCK NUT
4
