Dynojet Power Commander III 설치 지침 - 페이지 4

{카테고리_이름} Dynojet Power Commander III에 대한 설치 지침을 온라인으로 검색하거나 PDF를 다운로드하세요. Dynojet Power Commander III 4 페이지. Fuel adjustment
Dynojet Power Commander III에 대해서도 마찬가지입니다: 설치 지침 (3 페이지), 설치 지침 (4 페이지), 설치 지침 (5 페이지), 설치 지침 (5 페이지), 설치 지침 (3 페이지), 설치 지침 (3 페이지), 설치 지침 (4 페이지), 설치 지침 (3 페이지), 설치 지침 (3 페이지), 설치 지침 (5 페이지), 설치 지침 (3 페이지), 설치 지침 (3 페이지), 설치 지침 (3 페이지), 설치 지침 (3 페이지), 설치 지침 (3 페이지), 설치 지침 (3 페이지), 설치 지침 (3 페이지), 설치 지침 (4 페이지), 설치 지침 (5 페이지), 설치 지침 (4 페이지)
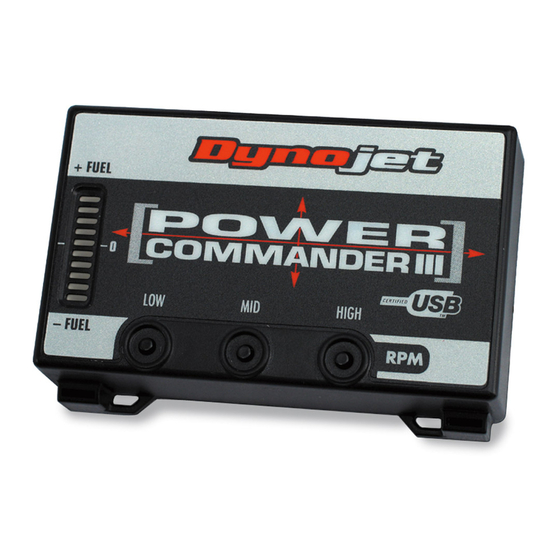
Dynojet Power Commander III 설치 지침
i424-411
www.powercommander.com
Remove these bolts
Unplug this connector
13
Move the tool kit so that it lays
against the rear fender (Fig. G).
14
Install the PCIII in the tool tray.
Use the stock band to secure the
PCIII in place (Fig. G).
Note:
It is recommended to disconnect
the stock O2 sensor to get the
full potential out of the bike and
the Power Commande
do not disconnect the stock O2
sensor you will not have full
control over your fuel curve.
15
Remove the cover on the right
hand side of the bike (Fig. H).
16
Unplug the stock O2 sensor
from the main wiring harness
(Fig. J).
Y ou can leave the O2 sensor in
the exhaust or you can remove
the sensor and install a bolt.
17
Reinstall the cover
18
Reinstall the fuel tank and seat.
2007 Yamaha XV1300 - PCIII USB - 4
If you
r .