AGS Merlin 1000S 설치, 운영 및 유지보수 매뉴얼 - 페이지 8
{카테고리_이름} AGS Merlin 1000S에 대한 설치, 운영 및 유지보수 매뉴얼을 온라인으로 검색하거나 PDF를 다운로드하세요. AGS Merlin 1000S 10 페이지. Gas utility isolation controller
AGS Merlin 1000S에 대해서도 마찬가지입니다: 사용자 및 설치 매뉴얼 (10 페이지), 설치 및 운영 매뉴얼 (12 페이지), 설치 및 운영 매뉴얼 (16 페이지)

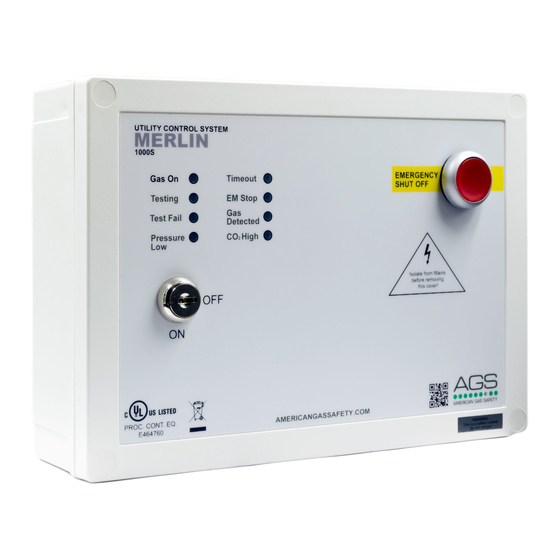
Merlin 1000S
Gas Utility Controller
3.6
FAN SWITCH INTERGRATION
There is the facility to connect a Fan Switch (FS1 or FS2 sold separately).
The Fan Switch provides the facility to turn the fan(s) ON when the Merlin panel is on and turn
the fans OFF when the panel is switched off
There is a dip-switch located inside the facia of the Merlin 1000S labelled [EM SELECTION].
This is factory set in the 'OFF' position which instructs the system to shut down the fan(s) and gas
supply on activation of the Emergency shut off button(s).
On installation, this can be switched to the 'ON' position, this will instruct the system to leave the
fans on and only shut off the gas supply on activation of an Emergency shut off button.
Note: This option is not available if a Fan Switch is not installed.
3.7
GAS FILL & PROVE TIME
Gas fill and prove times are adjustable.
There are two dip-switches located on the inside facia of the Merlin 1000S labelled [FILL TIME]
and [PROVE TIME].
They are factory set in the OFF position.
Fill and prove time can be changed by switching the relevant dip switch as follows;
[FILL TIME] Switch:
Off – 5 seconds
On – 10 seconds
[PROVE TIME] Switch:
Off – 30 seconds
On – 50 seconds
Once selected - please remove power from the fuse spur for 10 seconds.
3.8
AUTO RESET
The Merlin 1000S has a built-in auto reset feature. There is a dip-switch located on the inside
facia of the Merlin 1000S labelled [Auto Reset].
This is factory set in the 'OFF' position, this means, if you experience a power cut, the panel has
to be restarted manually.
This can be switched to the 'ON' position and will instruct the system to restart automatically
when power is restored following a power cut or similar situation.
Rev: 05 Date: 29-10-18
User & Installation Manual
8
