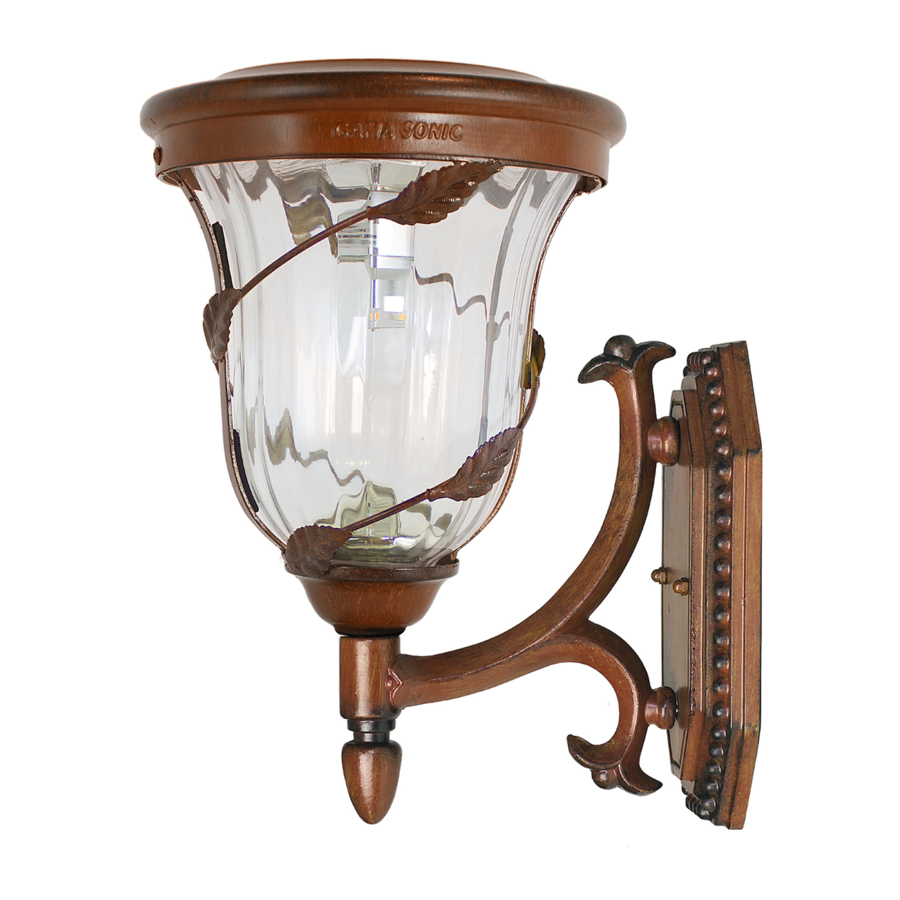
Gama Sonic GS-113B-P 사용 설명서 - 페이지 3
{카테고리_이름} Gama Sonic GS-113B-P에 대한 사용 설명서을 온라인으로 검색하거나 PDF를 다운로드하세요. Gama Sonic GS-113B-P 4 페이지. Flora bulb solar lamps

NOTE: If you are replacing an existing gas or electric light, you must
consult a certified technician to disconnect the gas or electricity before
installation of solar lamp.
Installation Instructions
Install the desired bracket [ 3" Fitter (M), Post (L), Wall (N) ] into light
fixture (A) by turning it clockwise.
GS-113B-F
Place solar lamp on top of your existing 3" post and tighten the 3 screws
provided to secure the lamp.
GS-113B-P
Using the anchor screws:
1. Use a drill to make two holes in the desired surface that match
the holes on the solar lamp base.
2. Place the provided screw anchors into holes.
3. Place the lamp base in line with the holes and secure the base
onto your desired surface with the provided screws.
GS-113B-W
Using the screw anchors:
1. Remove wall lamp support piece by unscrewing the bronze screw
caps from the back of the wall unit.
2. Use electric drill to make two holes in the desired location which
match the holes on the lamp support piece, and place provided
anchors into holes.
3. Place the wall lamp support piece in line with the holes and secure
using the provided screws.
4. Attach the solar lamp to the wall support piece and secure with
the bronze screw caps.
Fig. 2
3
