Gama Sonic GS-113B-W 사용 설명서 - 페이지 2
{카테고리_이름} Gama Sonic GS-113B-W에 대한 사용 설명서을 온라인으로 검색하거나 PDF를 다운로드하세요. Gama Sonic GS-113B-W 4 페이지. Flora bulb solar lamps
Please read the instruction manual carefully to obtain the best results
from your purchase.
WARNING: GAMA SONIC® Light bulbs are built and designed for Gama
Sonic products only. They are not designed to be used in other electrical
sockets. For the same reason, regular AC and/or Low Voltage bulbs cannot
be used in Gama Sonic products.
NOTE: If you are replacing an existing gas/electric wall light, you must consult
a certified technician to disconnect the current outlet before installation.
Tools that are needed but not supplied with the solar post lamps are: screw
driver, power drill.
Solar Lamp Post Location
For optimum light duration throughout the night, it is very important to place the
solar panel in a spot where it will receive the maximum amount of direct sunlight
throughout the day. For best results install your solar panel facing the south.
Operation Instructions
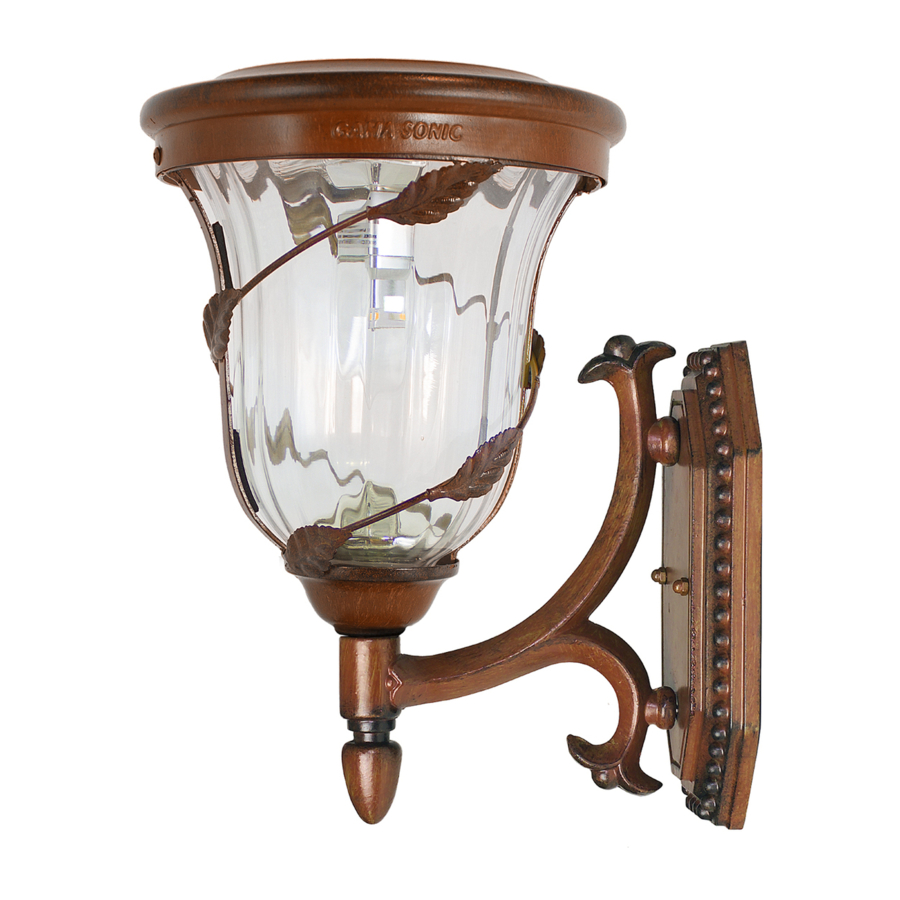
1. Remove part (A) from part (B) by unscrewing the 2 screws.
2. Install the new GS Solar LED Bulb by turning into the bulb socket
clockwise. (Fig. 1).
NOTE: Make sure to grip the light bulb by the base only and NOT the
glass lens.
3. Turn ON the light by choosing your desired brightness level:
Low (I) - last longer using dimmer light.
High (II)- Brighter light output. (Fig. 2).
4. Reattach part (A) to part (B) and secure with the 2 screws. The
Solar Lamp will automatically come on at dusk
Fig. 1
2