Gama Sonic GS-9 사용 설명서 - 페이지 3
{카테고리_이름} Gama Sonic GS-9에 대한 사용 설명서을 온라인으로 검색하거나 PDF를 다운로드하세요. Gama Sonic GS-9 4 페이지. Solar pillar commercial bollard
Installation Instructions
1. 1. 2
1. Remove the Mounting Bracket (Part
B) from the Solar Pillar (Part A) by
removing the four screws and sliding
the bracket away from the bottom.
2. Place the Mounting Bracket (Part B)
in the desired location of the lamp.
3. Drill four holes for the Anchor Bolts
(Part C) using a drill. Each hole
should be approximately 3/8" wide
and 2.75" deep.
4. Insert the Concrete Anchors (Part C)
into those holes and tighten them to
the Mounting Bracket (Part B) using
the Allen Wrench (Part E).
5. Slide the Solar Pillar (Part A)
over the Mounting Bracket (Part
B) and secure using the four
screws (removed from the
Pillar earlier) and the
Allen Wrench (Part E).
page 3
Installation Instructions
(Concrete)
1. 1. 2
1. Insert the Ground Stakes (Part
3. Secure the Mounting Bracket (Part
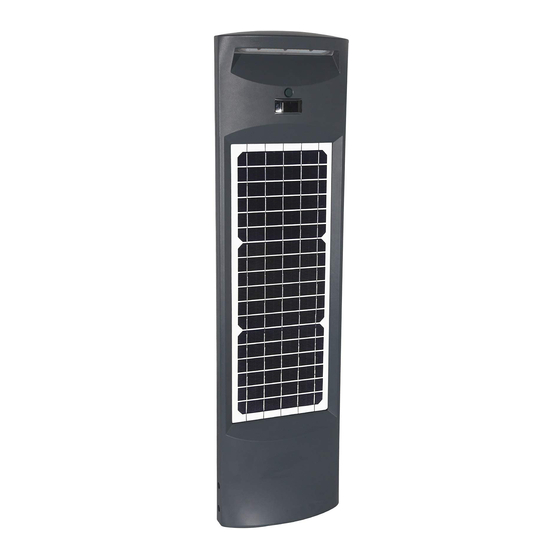
Operation Instructions
Using the button located above the motion sensor on each side of the
lamp, choose between a High/Low/Off Mode for each side.
1st Press = High Mode - the lamp will operate in the high setting
(500/250)*. After 4 hours, the light will dim (250/120)* and go back to
full brightness (500/250)* for 30 seconds when motion is detected.
2nd Press = Low Mode - the lamp will operate in the low setting
(250/125)*. After 4 hours, the light will dim (60/30)* and go back to
half brightness (250/125)* for 30 seconds when motion is detected.
3rd Press = Off
*Lumen output is listed in parenthesis with lumens for using one side only
on the left and lumens for using both sides on the right
NOTE: The solar light must be charged for two sunny days in the "ON"
position for best results.
D) into the ground in the desired
location of the lamp. Make sure the
stakes are between 2.5 to 4" apart.
2. Remove the Mounting Bracket (Part
B) from the Solar Pillar (Part A) by
removing the four screws and sliding
the bracket away from the bottom.
B) by using the Bolts with washers
that come pre-installed in the stakes.
4. Slide the Solar Pillar (Part A) over
the Mounting Bracket (Part B)
and secure using the four screws
(removed from the Pillar earlier) and
the Allen Wrench (Part E).
(Ground)