Gama Sonic GS-94T 사용 설명서 - 페이지 3
{카테고리_이름} Gama Sonic GS-94T에 대한 사용 설명서을 온라인으로 검색하거나 PDF를 다운로드하세요. Gama Sonic GS-94T 6 페이지. Victorian solar lamp
Gama Sonic GS-94T에 대해서도 마찬가지입니다: 사용 설명서 (5 페이지)
Tools that needed but not supplied with the high post solar lamp set are: a screw
driver, a wrench and an electrical drill that will be used to anchor the lamp base to the
ground.
Solar Light Location
It's important to mount your solar lamp post in a spot where it will receive maximum
sunlight throughout the day. Shadows cast by your home; trees and other structures
will move and lengthen during the day. So please consider this before deciding on a
location.
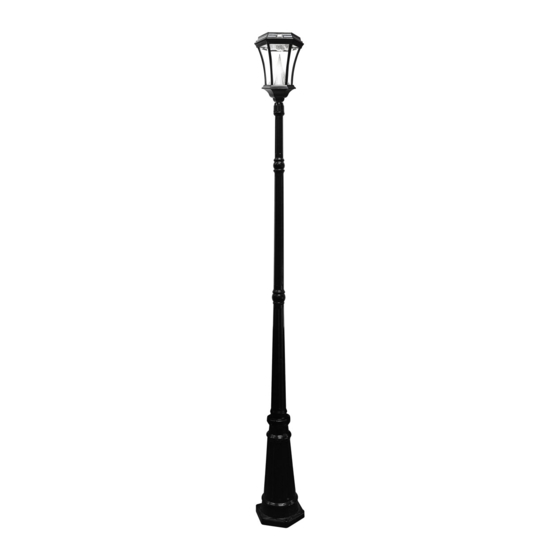
Assembly Instructions
GS-94L and GS-94S
NOTE: The following steps are for reference only. Consult your local
hardware store for the best installation method for your particular surface.
1. Use the electrical drill to make three holes in concrete floor, which
shall be similar to but smaller than the screws (G). The holes shall be
lined up with the holes of the lamp base (F).
2. Put the fastening screws (G) into the holes with their ends facing up
(Fig. 1-2).
3. Secure the screws to the lamp base using a wrench.
4. Make sure the lamp base (F) is stable before installing Part (D) to the
lamp base by using 3 supplied screws.
5. GS-94L: Then screw part (A) into part (B) and part (B) to Part (D).
(Fig 3).
6. GS-94S: Then screw part (A) into Part (H), part (H) to part (B), part (B)
to part (C), part (C) to part (D). (Fig. 4).
7. Turn the On/Off switch in the lamp head (A) to ON position according
Fig. 4 and 5.
8. Be sure to place your lamp post in a spot where it can receive
maximum sunlight throughout the day. It will turn on automatically at
night.
NOTE: The solar light must be charged for two sunny days for best results.
Fig. 1
Fig. 2
GS-94S
GS-94L