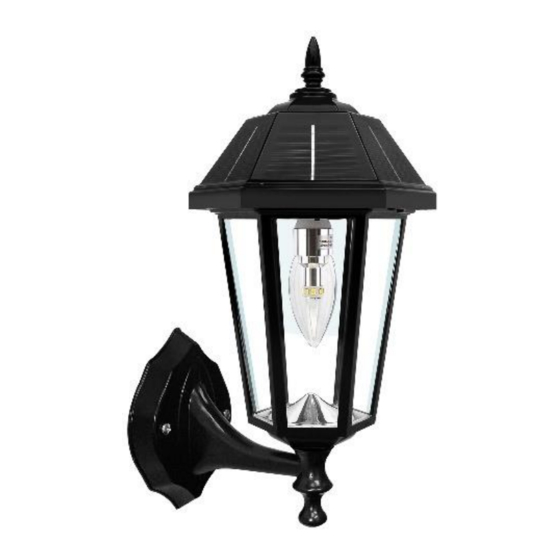
Gama Sonic Topaz Solar Light Series 사용 설명서 - 페이지 3
{카테고리_이름} Gama Sonic Topaz Solar Light Series에 대한 사용 설명서을 온라인으로 검색하거나 PDF를 다운로드하세요. Gama Sonic Topaz Solar Light Series 6 페이지. Topaz solar lamp with gs solar led light bulb

NOTE: The following steps are for reference only. Consult your local hardware store
for the best installation method for your surface.
GS-149F (3" Fitter Mount)
NOTE: If you are replacing an existing gas/electric post light,
you must consult a certified technician to disconnect them
before installation.
1. Screw Part (D) on top of the existing 3" post using the
screws provided.
GS-149P (Post Mount)
1. Use an electric drill to make four holes in the desired
surface. Place provided anchors into holes, place the base
of the lamp (E) in line with the holes and attach with the
provided screws.
2. Screw part (C) into Part (E).
GS-149W (Wall Mount)
Note: Installing the light on a wall may limit the solar panel for sun exposure. Make
sure the lamp is mounted so direct sun exposure is available.
3. Use an electric drill to make two holes in the wall, place
provided anchors into holes, place the wall bracket in line
with the holes and attach with the provided screws.
4. Screw part (F) into Part (C).
Solar LED Light Bulb Assembly
The GS Solar LED Bulb is designed to last up to 10 years, however if it doesn't work,
or if you want to use different color temperature bulb, it can be easily replaced.
1. Detach the top of the lamp unit (B) by releasing the 2 screws.
Make sure the Low/OFF/High switch is in the OFF (O) position.
2. Remove (if needed) the existing bulb by turning it
counterclockwise.
3. Install the new GS Solar LED Bulb by turning into the bulb socket
clockwise (Fig.2).
4. Reassemble the unit by reversing the above procedure
3
Fig.2
