Gama Sonic GS-114F 사용 설명서 - 페이지 3
{카테고리_이름} Gama Sonic GS-114F에 대한 사용 설명서을 온라인으로 검색하거나 PDF를 다운로드하세요. Gama Sonic GS-114F 8 페이지. Prairie solar lamp w/changeable mounting options
Gama Sonic GS-114F에 대해서도 마찬가지입니다: 사용 설명서 (5 페이지)
Installation Instructions
GS-114W (Fig. 4)
1.
Use a drill to make two holes in the wall, place appropriate
hardware into holes, place the wall bracket in line with the
holes and secure bracket to wall.
2.
Assemble part (A) into the wall bracket by turning it using
the screws provided.
Note: For best results, position your lamp so it is facing south.
Installation Instructions
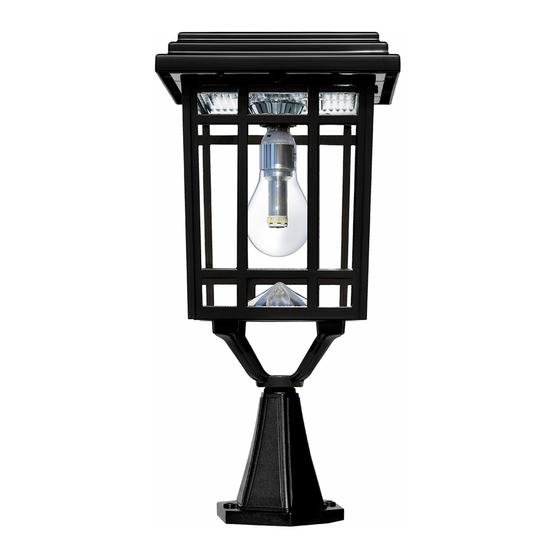
GS-114F (Fig. 5)
1.
Position Part (C) on top of the existing 3" post and tighten it
using the screws provided.
2.
Screw in part (A) into part (C) using the screw provided.
Note: If you are replacing an existing gas/electric post light,
you must consult a certified technician to disconnect them prior
to installation of your solar lamp.
4
Replacing the Batteries
After several years of use, the battery may need
replacing. (Fig. 6)
1.
Detach part (C) from part (B) by removing the four screws.
Make sure the ON/OFF switch is in the OFF (O) position.
2.
Remove the battery compartment screws.
3.
Unclip the connector and remove the old battery. Make
sure the new battery is a high quality 3.6V/800mAh Ni-Cd
4.
Rechargeable battery with connector.
Clip on new battery and install into the battery compartment.
Screw back battery compartment screws.
5.
Reattach part (C) to part (B) and secure with the 2 screws.
WARNING: Do not dispose of Ni-Cd battery in the regular trash,
municipal waste stream or by fire as batteries may leak or
explode. Do not open, short circuit, or mutilate batteries as
injury may occur. Preserve our environment by recycling Ni-Cd
batteries or disposing of them in accordance with local, state and
federal regulations. Do not mix old and new batteries
Maintenance
Clean the solar panels regularly with a damp towel to
guarantee optimum performance. Do not use any type of
solvent for cleaning and be careful not to put too much
pressure on the solar panels while cleaning.
.
5