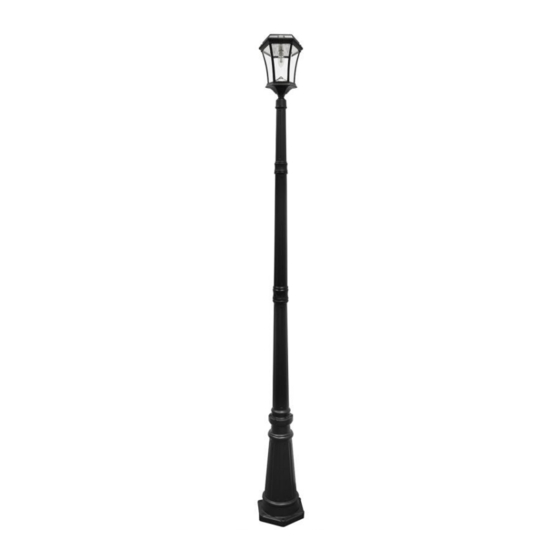
Gama Sonic GS-94B-T 사용 설명서 - 페이지 4
{카테고리_이름} Gama Sonic GS-94B-T에 대한 사용 설명서을 온라인으로 검색하거나 PDF를 다운로드하세요. Gama Sonic GS-94B-T 5 페이지. Victorian solar lamp post with gs solar led light bulb

6. Place part (E) on top of part (F) and tighten with the provided screws
using a wrench.
7. Screw part (D) to part (E), part (C) to part (D) and part (B) to part (C).
GS-94B-D and GS-94B-T
Please note that due to the quality of materials used, it is highly recommended
to secure the base into a solid surface such as concrete or wooden patio (bolts
included).
1. Repeat steps 1 to 6 as shown in GS-94B-S.
2. Screw part (D) to part (E). Part (C) to part (D) and part (H) into part
(C).
3. Screw bracket (J) into part (H) using the provided screws as shown in
Fig. 2.
4. Repeat step 3, two times in model GS-94B-D and three times in model
GS-94B-T.
5. Screw part (K) on top of part (H) for GS-94B-D or (I) for GS-94B-T.
Replacing the Batteries
(After several years of use, the batteries may need replacing).
1. Remove the top (A) from the fixture (B)
by releasing the 2 screws (Fig. 3).
2. Make sure the ON/OFF switch is in the "OFF" position.
3. Release the 3 screws on the silver reflector and remove
the old batteries (Fig. 4). Make sure the new batteries are
high quality –1 x Li-ion Battery Pack
(3.2 Volt / 3,000 mAh).
4. Install the new batteries into the battery compartment.
5. Reassemble the unit by reversing the above procedure.
4
Fig. 3
Fig. 2
Fig. 4
