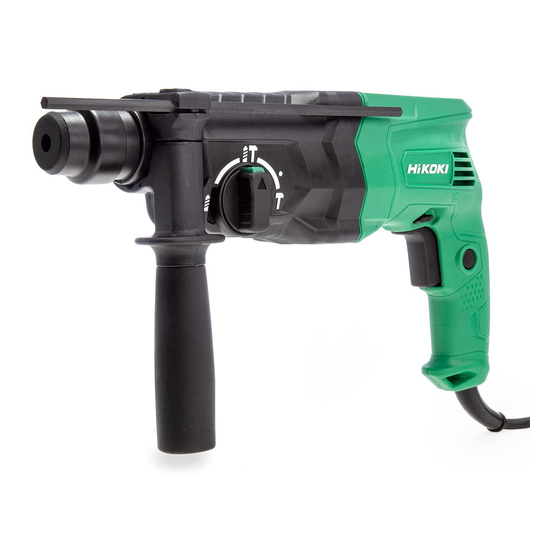
HIKOKI DH 28PX2 취급 지침 매뉴얼 - 페이지 8
{카테고리_이름} HIKOKI DH 28PX2에 대한 취급 지침 매뉴얼을 온라인으로 검색하거나 PDF를 다운로드하세요. HIKOKI DH 28PX2 16 페이지.

(3) Turn the change lever to
Then the tool is locked.
7. Using depth gauge (Fig. 14)
(1) Loosen the side handle, and insert the depth gauge into
the mounting hole on the side handle.
(2) Adjust the depth gauge position according to the depth
of the hole and tighten the side handle securely.
Depth gauge
8. How to use the drill bit (taper shank) and the taper
shank adapter
(1) Mount the taper shank adapter to the rotary hammer
(Fig. 15).
(2) Mount the drill bit (taper shank) to the taper shank
adapter (Fig. 15).
(3) Turn the switch ON, and drill a hole in prescribed depth.
(4) To remove the drill bit (taper shank), insert the cotter
into the slot of the taper shank adapter and strike the
head of the cotter with a hammer supporting on a rests
(Fig. 16).
Drill bit
Taper shank adapter
Taper shank adapter
8
mark (Fig. 11).
Side handle
Mounting
hole
Fig. 14
Front cap
Grip
Fig. 15
Cotter
Rest
Fig. 16
9. Make sure to securely hold the tool as shown in
Fig. 17 during operation.
10. Installing the side handle (Fig. 18)
HOW TO USE THE CORE BIT
(FOR LIGHT LOAD)
When boring penetrating large holes use the core bit (for
light loads). At that time use with the center pin and the core
bit shank provided as optional accessories.
1. Mounting
CAUTION
Be sure to turn power OFF and disconnect the plug from
the receptacle.
(1) Mount the core bit to the core bit shank (Fig. 19).
Lubricate the thread of the core bit shank to facilitate
disassembly.
Core bit
Thread
Core bit shank
Fig. 17
Fig. 18
Fig. 19
