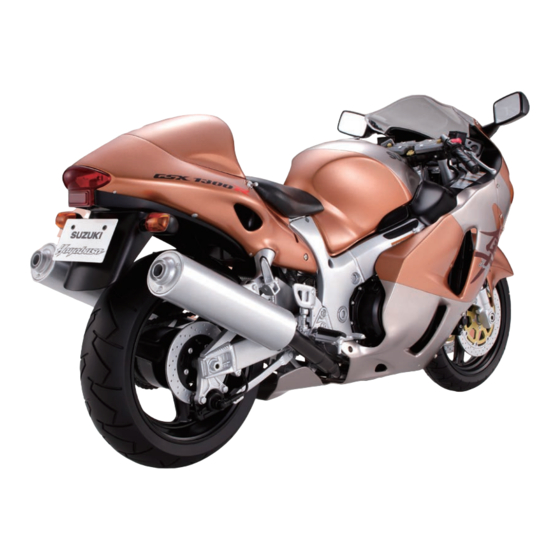
Deagostini MODEL SPACE SUZUKI GSX 1300R HAYABUSA 조립 설명서 - 페이지 9
{카테고리_이름} Deagostini MODEL SPACE SUZUKI GSX 1300R HAYABUSA에 대한 조립 설명서을 온라인으로 검색하거나 PDF를 다운로드하세요. Deagostini MODEL SPACE SUZUKI GSX 1300R HAYABUSA 13 페이지. Pack 03
Deagostini MODEL SPACE SUZUKI GSX 1300R HAYABUSA에 대해서도 마찬가지입니다: 조립 설명서 (11 페이지)

SUZUKI GSX 1300R Hayabusa: Assembly Guide
3
Prepare the rear wheel from Stage 22. Look at the photo
above, and the tip box on the right, to see the correct
orientation for both the wheel and the tyre.
5
When one side of the tyre is properly positioned on the
wheel, turn them around and repeat the process to fit
the other side of the tyre.
74
Tip
When viewed from
the front, the tread
pattern is a staggered
V-shape (blue lines).
Direction of travel
(front)
Unlike the front wheel and tyre, the rear wheel and tyre
have to be fitted the correct way round. The assembly
in the photo above shows the tyre from the front, with
some of the left side of the wheel showing. Ensure that
the tread pattern is correctly orientated when you fit
the tyre to the wheel.
6
Rotate the assembly when finished, to check that the
wheel and tyre are properly fitted together.
4
The side of the
wheel with a
large hole is the
left side.
Fit the rear wheel into the tyre, lifting the wall of the tyre
over the rim of the wheel and rotating the assembly as
you work.
Stage
complete!
This stage is now complete. You will be using the wheel in the
next stage, so don't store it away yet.
