Gree GWHD(18)ND3CO 설치 매뉴얼 - 페이지 10
{카테고리_이름} Gree GWHD(18)ND3CO에 대한 설치 매뉴얼을 온라인으로 검색하거나 PDF를 다운로드하세요. Gree GWHD(18)ND3CO 16 페이지. Multi ductless inverter
- 1. Heat Pump
- 2. Installation Manual
- 3. Table of Contents
- 4. Safety Precautions
- 5. System Requirements
- 6. Suggested Tools
- 7. Site Instructions
- 8. Dimensions
- 9. Indoor Unit
- 10. Outdoor Unit
- 11. Refrigerant Piping
- 12. Refrigerant Piping
- 13. Power and Wiring
- 14. Vacuum Testing
- 15. Start-Up
- 16. Troubleshooting
INSTALLATION OF REFRIGERANT PIPING
Step 7
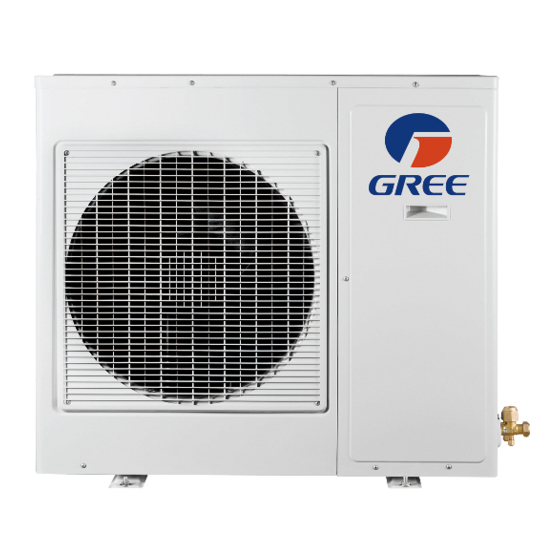
Piping Connections to Outdoor Unit
1. Remove service valve cover (if provided) to access
the service valves and refrigerant ports.The outdoor
unit refrigerant port sizes may vary. See System
Requirement Section for refrigerant port sizes.
2. Carefully bend and adjust length of refrigerant
pipes to meet outdoor unit service valves
connections with proper tools to avoid kinks.
NOTE: Use proper techniques to cut and re-flare refrigerant pipes, if required.
An R410A Flaring Tool is required for re-flaring refrigerant pipes.
An adapter pipe may be required to transition from the indoor unit to the outdoor unit
refrigerant port. Piping adapters are provided with some models. See table below for factory
provided piping adapter quantity and size:
Capacity Size
Quantity of
(BTUH)
Adapters Provided
18,000
24,000
30,000
36,000
42,000
NOTE: In some situations, field fabricated piping adapters may be required.
Tube Size
(Inch)
0
None
2
3/8 to 1/2
2
3/8 to 1/2
1
1/4 to 3/8
1
1/2 to 3/8
1
1/2 to 5/8
1
3/8 to 1/4
1
5/8 to 3/8
2
3/8 to 1/2
2
1/4 to 3/8
2
1/2 to 3/8
2
1/2 to 5/8
1
3/8 to 1/4
1
5/8 to 3/8
1
3/8 to 1/2
1
5/8 to 1/2
INSTALLATION OF REFRIGERANT PIPING
3. Apply a small amount of refrigerant oil to the flare connection on the refrigerant pipe.
4. Properly align piping and tighten flare nut using a standard wrench and a torque
wrench as shown in the indoor piping section.
5. Carefully tighten flare nuts to correct torque level referring to the following Torque Table:
Service
Pipe Diameter
Valve Cover
inch (mm)
1/4 (6.35)
3/8 (9.5)
1/2 (12.7)
5/8 (15.9)
NOTE: Over tightening may damage flare connections and cause leaks.
17
Torque Table
Nut Size
Tightening Torque
inch (mm)
ft-lbs
1/4 (17)
10 to 13
3/8 (22)
25 to 30
1/2 (25)
36 to 45
5/8 (29)
50 to 60
N-m
14 to 18
34 to 42
49 to 61
68 to 82
18