Jaga JRT-100 설치, 설정 및 사용자 설명서 - 페이지 2
{카테고리_이름} Jaga JRT-100에 대한 설치, 설정 및 사용자 설명서을 온라인으로 검색하거나 PDF를 다운로드하세요. Jaga JRT-100 4 페이지.
Jaga JRT-100에 대해서도 마찬가지입니다: 설치, 설정 및 사용자 설명서 (4 페이지), 설치, 설정 및 사용 (16 페이지), 설치, 설정 및 사용 (17 페이지), 설치, 설정 및 사용 (4 페이지)
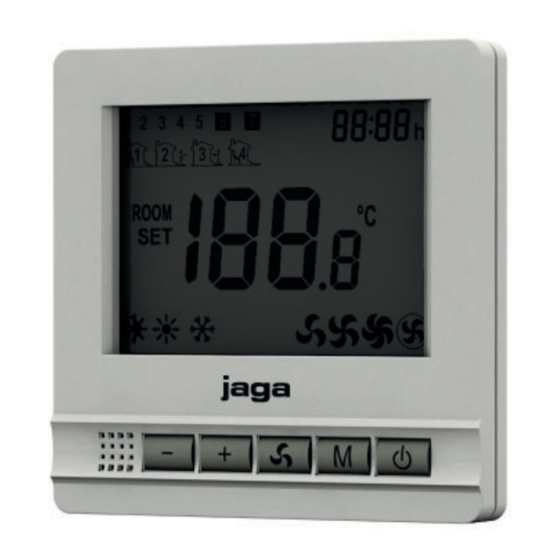
Jaga Room Thermostat JRT-100 installation
Installation
Warning: The installation of the thermostat should be performed by qualified personnel and must comply with the applicable local
and national electrical codes and utility requirements. All wire connections must be tightened and properly arranged to prevent a
shortcircuit. Turn off the power at the electrical panel to prevent electrical shock or product damage;
6
Install appropriate mounting box (60.3 mm
fixing centers).
1
2
3
4
5
6
7
8
Connect the JRT-100 according the wiring
diagrams* on this page.
Warning: Turn off the power at the electrical panel to prevent electrical shock or product damage.
* Wiring diagram
1
2
1
3
2
4
3
5
4
6
5
7
6
H/C
Heating / Cooling
H
Heating
C
Cooling
3.4
1.4
Carefully remove the front plate:
• locate the (2) release locks on the bottom
edge of the front plate assembly. Use a
small flat head screwdriver to push each of
the release locks up to disengage the lower
clips of the front plate.
9
Mount the thermostat base on the box and
secure it using two mounting screws. Do not
over-tighten.
2-Pipe
+
+
24V DC
24V DC
-
-
230 VAC
230 VAC
L1
N
L1
N
8
7
9
8
9
+ -
L
N
L
N
GND
N
Briza / Clima Canal / Quatro Canal ....
Optional external room temperature sensor
1
2
1
+ -
Swing the bottom of the front plate slightly
away from the bottom of the back plate.
Close the front plate:
• locate the upper clips into the slots at the
top of the grid plate
• insert the lower clips on the front plate into
the lower slots in the back plate. Press on
the cover plate until it locks
4-Pipe
3
2
4
3
5
4
6
5
7
6
8
7
9
8
25 June 2018, 8:43 - Jaga N.V.
+
+
24V DC
24V DC
-
-
230 VAC
230 VAC
L1
N
L1
N
9
+ -
L
N
L
N
+ -