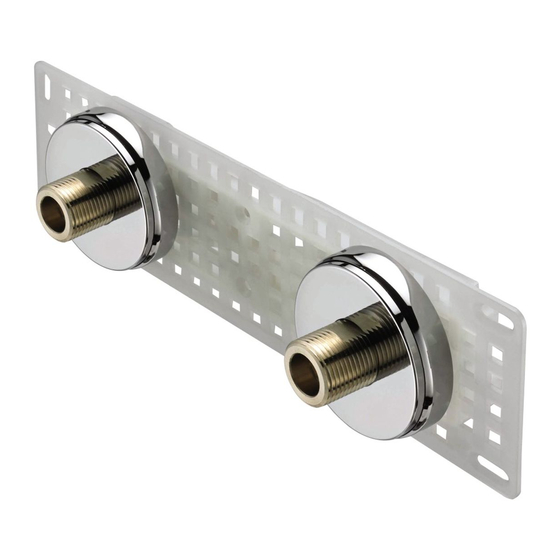
Bristan WMNT11 C 설치 지침 및 사용자 설명서 - 페이지 5
{카테고리_이름} Bristan WMNT11 C에 대한 설치 지침 및 사용자 설명서을 온라인으로 검색하거나 PDF를 다운로드하세요. Bristan WMNT11 C 8 페이지. Wall mount 11 first fix kit

Installation
6. Fit olive and connector
6. Fit olive and connector
6. Fit olive and connector
6. Fit olive and connector
Place the olives over the protruding
supply pipework.
Screw the threaded fixing bridge
connectors onto the backplate until
just tight and then tighten a
further ½ to ¾ turn to
compress the olives.
7. Finish wall surface
7. Finish wall surface
7. Finish wall surface
7. Finish wall surface
Complete the wall surface by tiling
over the backplate as shown in the
diagram opposite.
This wall fixing is suitable for tile
This wall fixing is suitable for tile
thicknesses between 6-15mm.
8. Fit shrouds
8. Fit shrouds
8. Fit shrouds
8. Fit shrouds
Screw the shrouds onto the threaded
fixing bridge connectors. The front
shrouds can be adjusted to suit
different thicknesses.
Once installed this wall mount fixing
kit will accept all bar type showers
with 150mm centres.
Need help?
Need help?
Need help?
Need help? Give us a call on 0844 701 6273
Front Shroud
0844 701 6273 and speak to one of our trained advisors.
0844 701 6273
0844 701 6273
Rear Shroud
5
