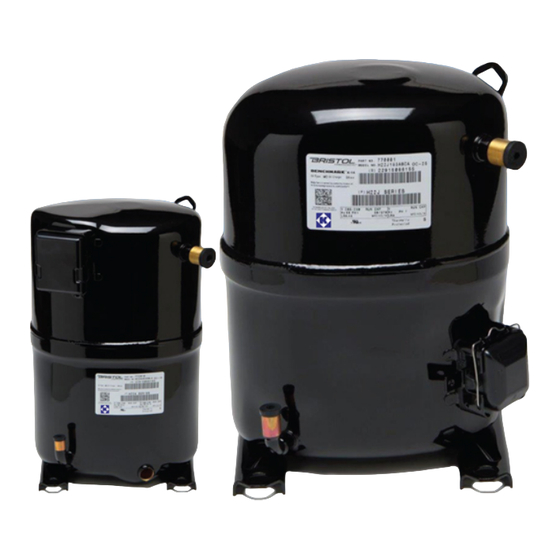
Bristol H23A563ABC 설치 및 서비스 지침 매뉴얼 - 페이지 2
{카테고리_이름} Bristol H23A563ABC에 대한 설치 및 서비스 지침 매뉴얼을 온라인으로 검색하거나 PDF를 다운로드하세요. Bristol H23A563ABC 18 페이지. Refrigeration/air conditioning/heat pump compressors

WARNING: Read all procedures and warnings prior to performing maintenance! For your
safety, it is essential that you use properly sized and operating test equipment.
WARNING: Air conditioning and refrigeration systems are pressurized; hazards could exist
resulting in personal injury. It is therefore recommended that the following steps for
troubleshooting, removal and installation of the hermetic compressor be performed by
qualified experienced personnel only.
INSTALLATION PROCEDURES AFTER COMPRESSOR HAS BEEN VERIFIED AS FAULTY...
BEFORE CONDEMNING A SINGLE-PHASE COMPRESSOR THAT FAILS TO START...
1.
Verify all following components are OK:
A. Run capacitor
B. Starting components (even if not originally installed, start assist should be tried before going to step 2)
C. Contactor
D. Winding resistance within manufacturer's specification (assure compressor is cool to the touch)
E. Compressor not grounded via ohmmeter/Megger, etc.
F. Compressor power terminals are tight and secure
G. Check for hot spots in system wiring (wire insulation melted, connectors, insulators melted, etc.)
2.
Verify locked rotor pull-down voltage (LRPDV). Always check LRPDV before removing the old or new
replacement compressor. If the LRPDV reduces the supply voltage to the compressor below the
"guaranteed to start" voltage of the compressor (single-phase 230/208 LRPDV is 197v), the power supply
must be corrected before removing the compressor.
Procedure to check for LRPDV: Warning! Make sure system is properly grounded before
proceeding!
A. Connect a voltmeter to the common terminal and run terminal of the compressor.
B. Remove the start wire from the compressor and insulate the connector lead wire.
C. Terminal cover and retainer MUST be installed before applying voltage. (See warning on page 4.)
D. Apply voltage to the compressor and measure the voltage as the compressor attempts to start (during
locked rotor). If internal overload trips, allow time for reset before continuing.
E. If the voltage at the compressor terminals does not pull down below the LRPDV, reconnect the start
wire and try to start again. If the compressor does not start, proceed to step 3 below.
3.
Direct wiring. This wiring eliminates all other components and system wiring.
A. Hard-wire from a fused disconnect to the C and R terminals of the compressor
B. Wire in a new run capacitor from the S terminal to the R terminal at the compressor using new wire
leads (see page 9 permanent split capacitor-wiring diagram)
C. Turn on disconnect, verify LRPDV and measure start winding current (see item 10, page 5)
D. If compressor does not start, add a two-wire start assist kit in parallel with the run capacitor and repeat
step 3 (C). If the pressures are equalized and the LRPDV and start current are OK, and the
compressor still does not start, it is definitely faulty.
WARNING: Never use oxygen to pressurize a refrigeration or air conditioning system.
Oxygen can explode on contact with oil and could cause personal injury. When using high
pressure gas such as nitrogen or CO
control the pressure down to 1 or 2 psig.
The following instructions are general in nature but include major points of consideration that will ensure proper
installation and protect you from possible personal injury. Please use this as a checklist, taking each item in its order
before proceeding to the next. If more information is required, please call Bristol Compressors' Service Department.
1.
VERIFY PROPER APPLICATION. Verify that the compressor being replaced and the Bristol compressor
have a like capacity for the refrigerant being used and that the voltage and frequency characteristics are
the same. Consult your wholesaler if you have any questions about proper compressor application.
for this purpose, be sure to use a regulator that can
2
Page 2
