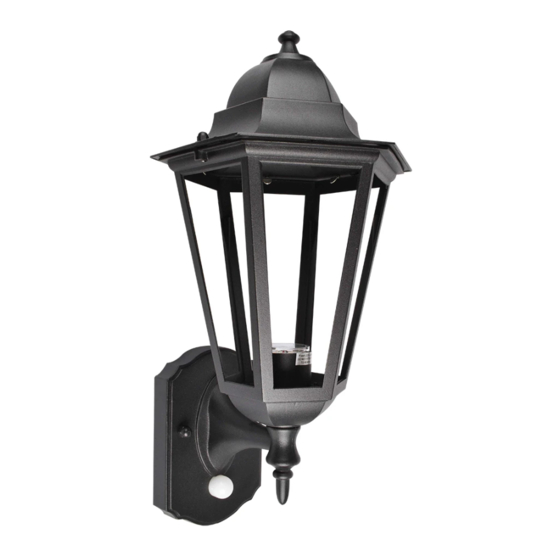
Green Lighting GL2362LU 조립 및 피팅 지침 - 페이지 5
{카테고리_이름} Green Lighting GL2362LU에 대한 조립 및 피팅 지침을 온라인으로 검색하거나 PDF를 다운로드하세요. Green Lighting GL2362LU 6 페이지. P-lux3 led tri-sensor lantern

INSTALLATION - continued
7.
ensuring that no wires are trapped and that the gasket makes a tight seal (FIGURE 2).
8. Slide the glass panels into position
(FIGURE 4).
9. Fit the canopy to the lantern head with the
screws and washers (FIGURE 4).
10. Turn on the mains supply.
Note: Do not use this lantern if it is damaged.
IF IN ANY DOUBT CONSULT A QUALIFIED
ELECTRICIAN.
OPERATING THE LAMP
NOTE: In the wiring examples shown in FIGURES 1 and 4, the switch for the
fused spur doubles as the override switch.
Initial Power Up Cycle
On the initial power up, your lantern will go into one complete cycle that is full light for 45 seconds
followed by a slow dim down and it will then switch off (in day time). This power up cycle will happen
regardless the light level of the environment.
After installing your P-Lux 3 Led lantern, simply walk past your lantern and look for the blue
LED (Motion Indicator) on the PIR to flash which means your lantern is in range but the light will not
come on in day light.
FIGURE 4
