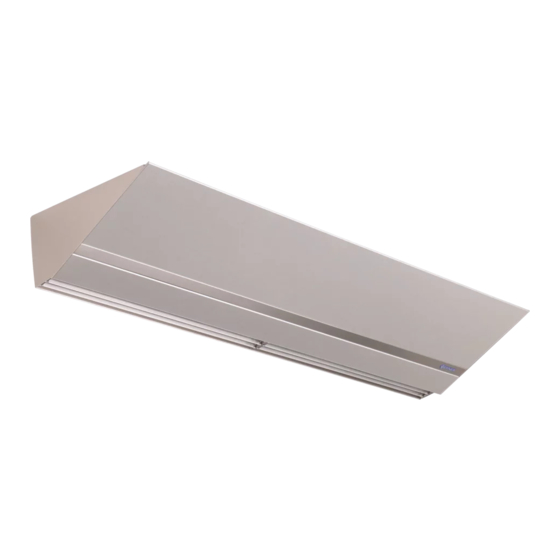
Berner AE10 설치 및 유지 관리 지침 매뉴얼 - 페이지 3
{카테고리_이름} Berner AE10에 대한 설치 및 유지 관리 지침 매뉴얼을 온라인으로 검색하거나 PDF를 다운로드하세요. Berner AE10 16 페이지.

1
4" minimum
side & top
clearance from
combustible
Discharge
material
Nozzle
20˚
EXTERIOR
For more information see page 4
3
HOOK
CATCH
WALL HANGERS*
(Position evenly; slide to match
location of support structure)
1/4"-20 BOLTS provided by Berner
(4 FT-LBS RECOMMENDED TORQUE)
*Longer units use more than two wall hangers.
Position outer wall hangers no more than 6" from the end.
For more information see page 5
5
Use threaded rod
to hang from the
ceiling instead of
the wall - using
the factory installed
recessed threaded
inserts
For more information see page 5
®
AIR
Before hanging,
check to see what
the clearance is
above the door.
6' minimum
INTERIOR
WALL MOUNT
CEILING MOUNT
Berner International
www.berner.com
111 Progress Ave. / New Castle / PA / 16101 / USA
Architectual Elite 8 & 10 Air Curtain
Simple to Install
Easy to operate & maintain
2
FLUSH WALL MOUNT
MOUNTING
SCREWS
WALL
HANGER
GAP NEEDED
TO MOUNT
UNIT FLUSH WITH
TOP OF
OPENING*
*If the unit must be mounted higher than 1" above the
opening, it must be spaced out from the wall 3/8" for every
inch the unit is above the door opening.
4
After mounting the wall hangers, hang the air curtain and
rotate into place & add locking screws.
To access internal components - Remove the
6
screws along the front edge, slide the panel
towards you, and then it will drop down.
To wire – follow the wiring diagram (inside wiring
compartment). The controls ship in the same box as the
air curtain.
800.245.4455
-3-
RAISED WALL MOUNT*
MOUNTING
SCREWS
SPACER
SEAL ALONG
2"
LENGTH
LOWER LIP
For more information see page 4
WALL MOUNT
For more information see page 5
SCREWS
For more information see page 8
