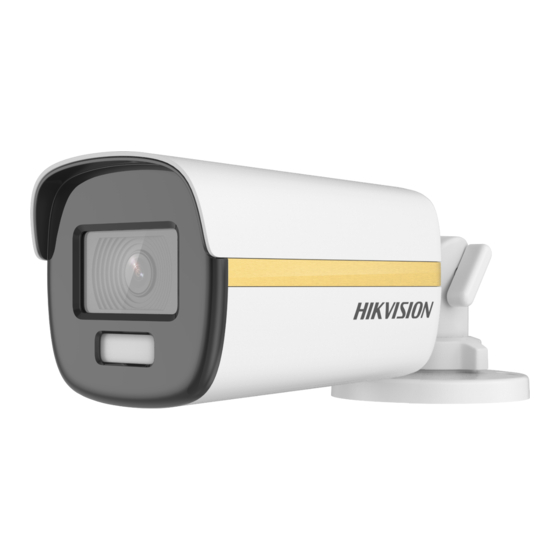
HIKVISION DS-2CE12UF3T-E 사용자 설명서 - 페이지 12
{카테고리_이름} HIKVISION DS-2CE12UF3T-E에 대한 사용자 설명서을 온라인으로 검색하거나 PDF를 다운로드하세요. HIKVISION DS-2CE12UF3T-E 18 페이지. 4k colorvu poc camera
HIKVISION DS-2CE12UF3T-E에 대해서도 마찬가지입니다: 빠른 시작 매뉴얼 (17 페이지)

2). Move the main body up and down to adjust the
tilt position [0° to 75°].
3). Rotate the main body to adjust the rotation
position [0° to 360°].
2.3.2 Ceiling Mounting with Junction Box/Inclined
Ceiling Mount
Before you start:
You need to purchase a junction box or inclined
ceiling mount in advance.
Ceiling mounting with junction box and inclined
ceiling mount are similar. Following steps take
junction box as an example.
Steps:
1. Paste the drill template for junction box to the place
where you want to install the camera.
2. (Optional) For cement ceiling, drill the screw holes
with a 5.5 mm drill and insert the supplied wall
plugs.
3. (Optional) Drill the cable hole, when the cables are
routed through the wall.
4. Take apart the junction box.
5. Install the gang box to the junction box cover with
three PM4 screws.
Figure 2-17 Install Gang Box to Junction Box Cover
6. Fit the camera onto the gang box.
7. Turn the camera clockwise until it snaps into the
gang box.
Figure 2-16 Drill Template
Figure 2-18 Fit Camera
6
