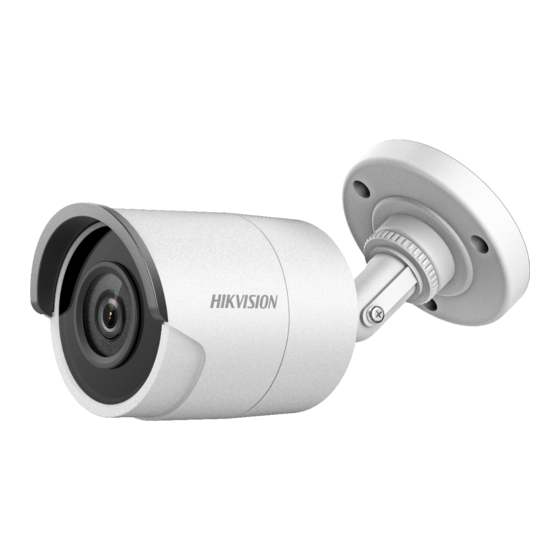
HIKVISION DS-2CE18U8T-IT3 빠른 시작 매뉴얼 - 페이지 6
{카테고리_이름} HIKVISION DS-2CE18U8T-IT3에 대한 빠른 시작 매뉴얼을 온라인으로 검색하거나 PDF를 다운로드하세요. HIKVISION DS-2CE18U8T-IT3 17 페이지. Turbohd 4k series bullet camera
HIKVISION DS-2CE18U8T-IT3에 대해서도 마찬가지입니다: 사용자 설명서 (14 페이지), 사용자 설명서 (16 페이지)

2.1 DVR Installation
During installation of the DVR:
Use brackets for rack mounting.
Ensure ample room for audio and video cables.
When routing cables, ensure that the bend radius of the cables are no less than five times than its
diameter.
Connect the alarm cable.
Allow at least 2 cm (≈0.75-inch) of space between racks mounted devices.
Ensure the DVR is grounded.
Environmental temperature should be within the range of -10 to +55º C, +14 to +131º F.
Environmental humidity should be within the range of 10% to 90%.
2.2 Hard Disk Installation
Before you start
Before installing a hard disk drive (HDD), please make sure the power is disconnected from the DVR. A factory
recommended HDD should be used for this installation.
One or two SATA hard disks can be installed depending on different models.
Tools Required: Screwdriver.
As the installation steps of HDD are similar among different models, here we just take an example.
Step 1 Remove the cover from the DVR by unfastening the screws on the back side.
Step 2 Connect one end of the data cable to the motherboard of DVR and the other end to the HDD.
Digital Video Recorder Quick Start Guide
Chapter 2 Installation and Connections
Figure 2-1 Remove Cover
5
