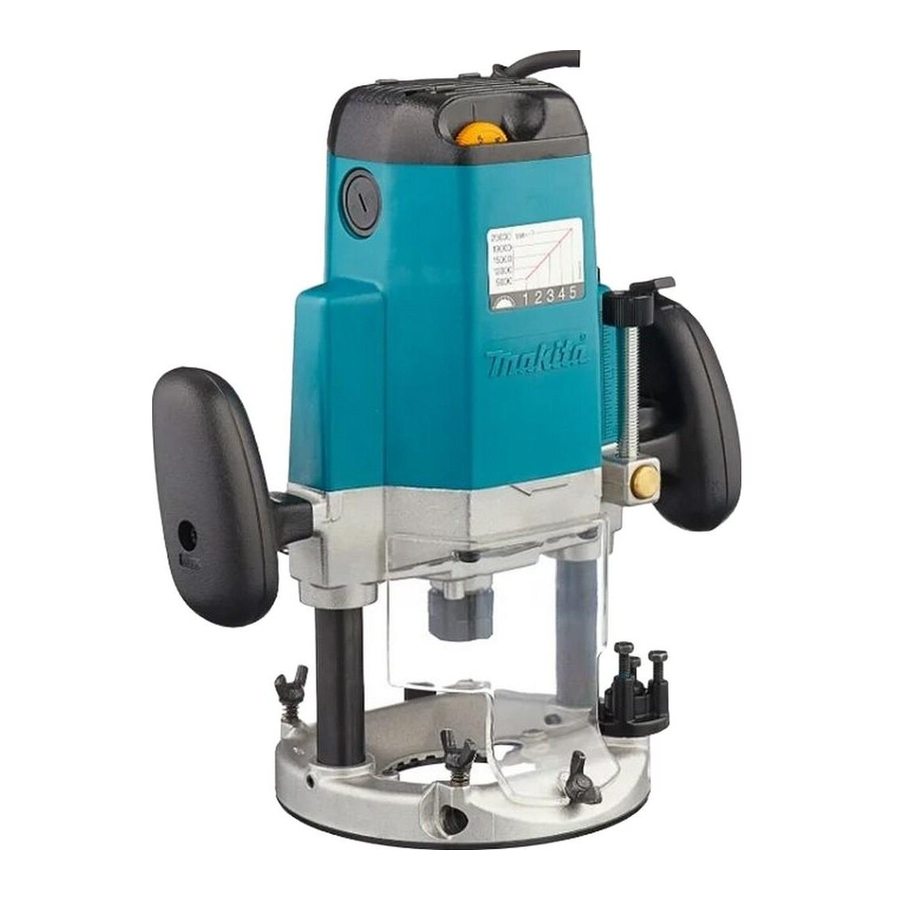
Makita 3612C 사용 설명서 - 페이지 4
{카테고리_이름} Makita 3612C에 대한 사용 설명서을 온라인으로 검색하거나 PDF를 다운로드하세요. Makita 3612C 16 페이지. Guide rail adaptor
Makita 3612C에 대해서도 마찬가지입니다: 부품 분석 (3 페이지), 사용 설명서 (20 페이지)

ENGLISH
Use this Guide Rail Adaptor with MAKITA or FESTO Guide Rail after the guide rail adaptor is installed on Makita routers.
1-1. Guide rail adaptor
1-2. Sub adaptor
1-3. Support A
1-4. Support B
1-5. Rod 8 (2 pcs.)
1-6. Rod 12 (2 pcs.)
1-7. Clamping screw M5x20 (5 pcs.)
Models:
RP0910, RP1110C (To be installed by using Rod 8)
3612, 3612C, 3612BR, RP1800, RP1801, RP1800F, RP1801F, RP2300FC, RP2301FC (To be installed by
using Rod 12)
Installation of guide rail adaptor
CAUTION
Always be sure that the router is switched off and unplugged before installing or removing the guide rail adaptor.
For RP0910, RP1110C
• Insert Rod 8 (2 pcs) through installation holes in inner side of Guide Rail Adaptor, the tool (router) and the sub adaptor
and then secure them with the clamping screws. (Fig. 2, 3 & 4)
• Move the tool to your desired cutting position and then secure the tool to the Rod 8 with the clamping screws.
For 3612, 3612C, 3612BR, RP1800, RP1801, RP1800F, RP1801F, RP2300FC, RP2301FC
• Insert Rod 12 (2 pcs) through installation holes in outer side of Guide Rail Adaptor, the tool (router) and the sub adaptor
and then secure them with the clamping screws. (Fig. 5, 6 & 7)
• Move the tool to your desired cutting position and then secure the tool to the Rod 12 with the clamping screws.
Installation on the guide rail
CAUTION
Always be sure that the router is switched off and unplugged before installing or removing onto/from the guide rail.
• Place a router on the guide rail so that the groove in the guide rail adaptor will fit onto the protrusion of the guide rail.
(Fig. 8 & 9)
• Turn two screws shown in the position A to adjust the width d of the part of the guide rail adaptor for fitting onto the
guide rail. (Fig. 10 & 11)
• Adjusting the width reduces the possibility of tool cluttering and allows more precise cutting.
• The width of the part of the guide rail is also adjustable with a tool placed on the guide rail.
CAUTION
Do not position the cutting line of a router on any part of the surface of the guide rail.
Installation of support
• When cutting stepped workpiece in relation to work table surface, use one of supports to support the sub adaptor.
(Fig. 12 & 13)
• Lower the support until it reaches the top of work table, and then secure it with the clamping screw.
• Choose support A or B according to the stepped level.
• Usable stepped level for the support A is 0 - 10 mm while that for the support B is 9 - 35 mm.
4
Explanation of general view
1.
Clamping screw
2.
Guide rail adaptor
3.
Rod 8
4.
Clamping screw (on the tool)
5.
Sub adaptor
6.
Rod 12
7.
Groove in the guide rail adaptor
8.
Protrusion on the guide rail
9.
Clamping screw
10. Support
11. Work table
