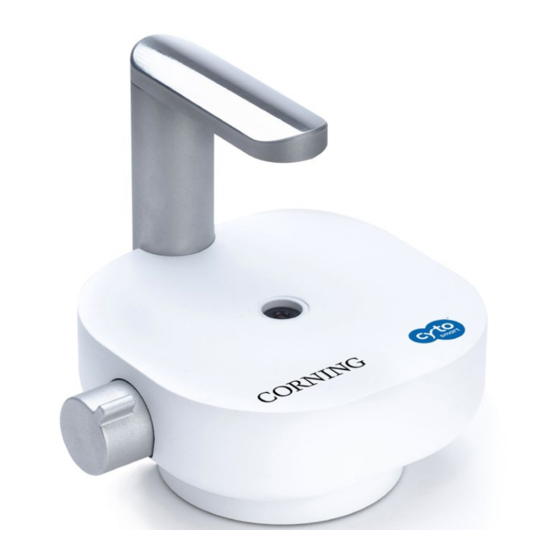
CORNING Cell Counter 사용 설명서 - 페이지 7
{카테고리_이름} CORNING Cell Counter에 대한 사용 설명서을 온라인으로 검색하거나 PDF를 다운로드하세요. CORNING Cell Counter 15 페이지. Accurate cell counts in a flash

Start a Cell Count
To start a cell count, you need to create an experiment. First, select
the project that your experiment belongs to using the drop-down
menu (Figure 11). If the cell count doesn't belong to any of the
projects shown, click "Create a new project" to create a new project.
Next, give the cell count a name. We recommend always including
the date of the cell count in the file name to easily find the
experiment later on. After entering the details, click "Start cell
count" (Figure 13) and count your cells!
Adapter Plate Placement
You can use the adapter plate to guide the counting chamber during image acquisition
of the sample. We recommend to place the adapter plate on the Corning® Cell Counter,
but this is not required to perform a cell count. Using the adapter plate will produce the
most reliable results, as it allows for precise and repeatable handling of the counting
chamber.
To install the adapter plate:
Make sure that both the Corning Cell Counter and the adapter plate are clear of any
◗ ◗
debris. Note: Use a lint-free wipe to clean the device, if needed.
Carefully slide the notch of the adapter plate around the base of the light arc (Figure 14).
◗ ◗
Push the adapter plate downwards, until it clicks into place on-top of the Corning
◗ ◗
Cell Counter (Figure 15).
Figure 14. Slide the
Figure 15. Carefully press the
adapter plate into place.
adapter plate downwards.
12
C O R N I N G C E L L C O U N T E R
Ensure the adapter plate is correctly placed. If it is placed incorrectly, this can lead to
◗ ◗
false results (Figure 16).
To remove the adapter plate, carefully pull it upwards near the base of the light arc.
◗ ◗
Then carefully slide the plate from the Corning® Cell Counter.
Figure 13. Start
cell count
Figure 16. Correct adapter plate placement
Sample Loading
A counting chamber is used for cell sample analysis. Most common hemocytometers are
compatible with the Corning Cell Counter. This is because these counting chambers have
a similar counting chamber depth of 0.1 mm.
The Corning Cell Counter does not require the counting grid – essential for manual
counting – to be included to perform a cell count. Therefore, you can also use disposable
counting slides, if they have a counting chamber depth of 0.1 mm.
Load the counting chamber with a cell sample according to your loading protocol. We
recommend loading 10 µL of the sample in the counting chamber with a 10 µL or 20 µL
pipet. The Corning Cell Counter operates within a concentration range of 5 x 10
1 x 10
Buffered Saline (PBS) or medium to resuspend the cells in an appropriate volume;
otherwise, you may obtain false results.
7
cells/mL. If the cell solution is out of this concentration range, use Phosphate
5
to
Instruction Manual
13
