ALIBI ALI-NS4028R 빠른 설치 매뉴얼
{카테고리_이름} ALIBI ALI-NS4028R에 대한 빠른 설치 매뉴얼을 온라인으로 검색하거나 PDF를 다운로드하세요. ALIBI ALI-NS4028R 5 페이지. Ip bullet cameras
ALIBI ALI-NS4028R에 대해서도 마찬가지입니다: 빠른 설치 매뉴얼 (6 페이지)
ALI-NS4022R, ALI-NS4023R,
ALI-NS4025R, ALI-NS4028R
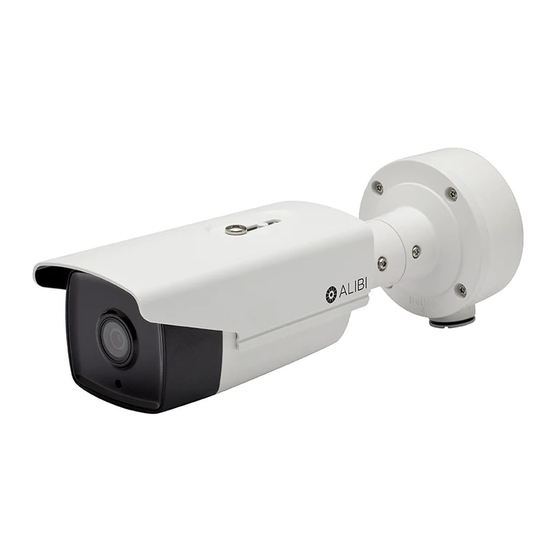
IP Bullet Cameras
Quick Installation Guide
This document guides you through the basic steps to install and configure the ALI-NS4022R,
ALI-NS4023R, ALI-NS4025R and ALI-NS4028R IP bullet cameras. These cameras feature:
Supports H.265+ / H.265 / H.264OVC / H.264 / MJPEG compression
•
120 dB Wide Dynamic Range
•
Full Frame Illumination Smart IR array,
•
Supports onboard storage up to 128GB Max microSD (card not included)
•
IP67 ratred, −22 °F ~ 140 °F temperature range
•
ONVIF Profile S & Profile G, PSIA, CGI, ISAPI
•
For more information, refer to these documents - available from your equipment vendor:
ALIBI™ Tools Utility Installation and User Manual
•
ALIBI™ Witness App for Android Quick Start Guide
•
ALIBI™ IP Camera Firmware Version x.x User Manual provided at:
•
AlibiSecurity.com/resources
Articulated
mounting
bracket
Camera body
* To restore the camera with its default configuration (including user name, password, IP address, etc.) press and hold the Reset
button for 10 s when the camera is power on or rebooting.
Camera base
locator pins
Top (up)
Bottom (down)
Conduit port (2)
Junction box detail
1
www.observint.com
Junction box assembly
(see detail below)
Camera mounting base
Sun Shield
Access to microSD slot
and Reset button*
Mounting screw
hole (4)
Hole for camera
mounting screw (4)
Cable access
through mounting
surface
What's in the box
Your camera includes the items shown below.
Drill Template
Security
Weatherproof
L-wrench
Step 1.
Install the camera
The camera includes hardware to install it directly to the Junction box provided, to a mounting surface
(without the junction box), or to a double-gang electrical box using the adapter plate provided. When
using the junction box, camera LAN and power drop cables can attach to extension cables inside the
box. The camera with or without the junction box can be installed on a ceiling (horizontal surface) or
wall (vertical surface). To install the camera:
1.
Remove the cover on the underside of the camera, and then install a microSD card. The card can
have a capacity up to 128GB. Reinstall the cover.
The microSD card may need to be initialized before it can be used to record data. Refer to the ALIBI™
NOTE
IP Camera Firmware Version .. User Manual provided at AlibiSecurity.com/resources for
Lens
instructions to initialize the card.
2.
Mount the camera in one of the following ways:
To mount the camera using the Junction box
1.
Determine the best fasteners for securing the Junction box to mounting surface. The mounting
hardware provided is suitable for most surfaces.
2.
Remove the junction box from the camera assembly by loosing the four captive screws.
3.
Attach the drill template to the surface. Mark the location of the Junction box mounting screw
holes. If routing extension cables for the LAN, power, alarm devices, etc. through the mounting
surface, mark the location for that hole too. NOTE: If installing the box onto a wall, observe
the orientation for TOP and BOTTOM orientation markings inside the box and on the camera
mounting base, and orient the drill template properly.
Mounting surface
Drill template
Junction box mounting screws (4)
4.
Drill holes in the mounting surface for the mounting screws and extension cables (if necessary).
5.
Secure the Junction box to the mounting surface using appropriate fasteners.
Ethernet connector -
PoE capable
Camera drop cables
Adapter plate
Junction box (top view)
Ethernet
Fitting
Junction box
Safety cable
Orientation mark
Mounting base screws (4)
12 Vdc Power
connector
Mounting
hardware
Camera
ALI-NS402xR_CQ
170717