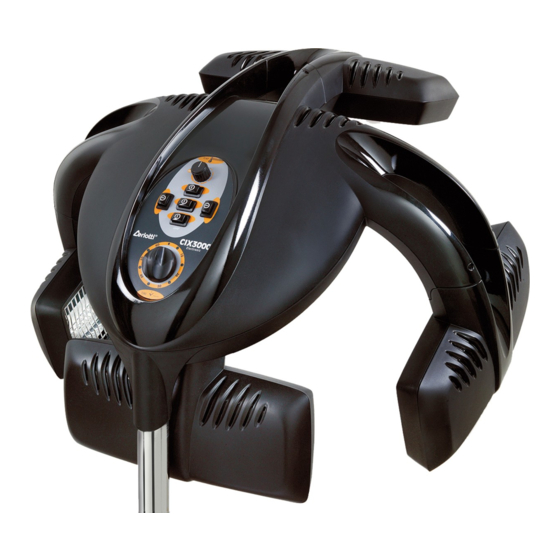
Ceriotti CIX3000 조립 설명서 - 페이지 13
{카테고리_이름} Ceriotti CIX3000에 대한 조립 설명서을 온라인으로 검색하거나 PDF를 다운로드하세요. Ceriotti CIX3000 16 페이지.

WALLARM – INSTRUCTION FOR ASSEMBLY
1. Set the bracket (A) in the wall; recommended height 190 cm. Max.
2. Fasten the plate (B) to the bracket (A) using the two nuts.
3. Mount the pact cover (H) on the plate (B) and fasten with the screw (I).
4. IMPORTANT: Without removing the safety clamp (C), witch withholds the arti-
culated part of the arm inside which the return spring is bossed, insert the arm
(D) on the plate (B)
5. After loosening the two screws (E) at the end f the arm (D), insert the pin (F) of
the fork and tighten the screws right home.
6. Only now's it possible to remove the safety clamp, holding the apparatus
with one hand to prevent any Kick-back in the working position.
7. Connect the plug of the apparatus to the socket provided on the arm and
connect up to the electric power supply.
Should use cause an alteration in the balancing mechanism, correct it as fol-
lows: if lifting the apparatus the counterweight tends to drop, turn clockwise
the screw (G) on the elbow of the arm clockwise, using a n.8 Allen wrench; if the
hood tends to do the opposite, turn it counter clockwise.
LEGEND:
A) WALL BRACKET
B) PLATE
C) SAFETY SLEEVE
D) ARM
E) SCREWS TO SECURE PIVOT
F) PIVOT
G) SCREW
