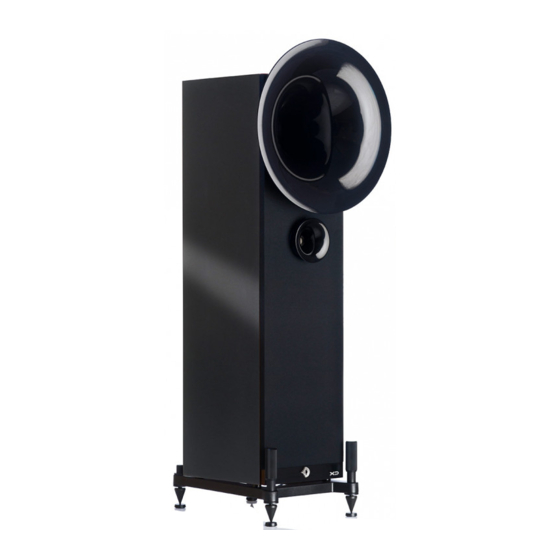
Avantgarde Acoustic UNO FINO 사용자 설명서 - 페이지 7
{카테고리_이름} Avantgarde Acoustic UNO FINO에 대한 사용자 설명서을 온라인으로 검색하거나 PDF를 다운로드하세요. Avantgarde Acoustic UNO FINO 17 페이지.

❾
–MID
⓰
–EARTH
⓱
EARTH
❾
⓬
12
SPKR INPUT
LINE INPUT
SIG
GND
SIG
MUTE
XLR
SPKR
30 Hz
40 Hz
20 Hz
6
5
7
4
8
3
9
2
10
1
11
MID
LOW
HIGH
5
4
6
3
7
2
8
1
9
0
10
LED
EARTH 12V DC
CAUTION!
Do not open.
Risk of
electrical shock!
PA107
SERIAL NO.
330 WATTS
100V (3,15 A slow)
115V (3,15 A slow)
230V (2,0 A slow)
SYSTEM INSTALLATION
ERDUNG DER METALLTEILE & TREIBER
• Zur Verbesserung der Klangqualität und/oder zur Vermei-
dung von Störgeräuschen sind die Lautsprechersysteme
mit 2mm Erdungsbuchsen ausgerüstet.
• Sämtliche Metallteile des Mitteltontreibers (inkl. der
Treibermagneten und -körbe) sind intern mit der 2mm
Erdungsbuchse des Mitteltönerdeckels ❾–MID verbunden.
• Sämtliche Metallteile der Bass- und Hochtontreiber (inkl.
der Treibermagneten und -körbe) sind intern mit der 2mm
Erdungsbuchse der Endstufe ❾, sowie mit dem Masseleiter
der Netz–Kaltgerätebuchse ⓬ verbunden.
① Die 2mm Erdungsbuchse des Mitteltöners ❾–MID mit
dem beiliegenden Kabel ⓰–EARTH mit der 2mm Erdungs-
buchse der Subwoofer–Endstufe ❾ verbinden Das Er-
dungskabel befindet sich in der Zubehörbox.
Sobald die Netz–Kaltgerätebuchse des Lautsprechersys-
tems ⓬ jetzt an einem 3–poligen und damit geerdeten
Netzanschluss betrieben wird, sind sämtliche Metallteile
geerdet.
② Wenn der Subwoofer an einem 2–poligen und damit
ungeerdeten Netzanschluss betrieben wird, oder um die
Klangqualität unter Umständen zu verbessern, empfehlen
wir zusätzlich auch die Erdungsbuchse des Vollverstärkers
oder der Vorstufe ⓱ (falls vorhanden) mit der Erdungs-
buchse der Subwoofer–Endstufe ❾ zu verbinden.
Das hierfür benötigte Erdungskabel ist nicht im Lieferum-
fang enthalten. Beliebige 1–polige Kabel mit einem Leiter-
querschnitt von >0,5 qmm (z.Bsp. AWG 20) verwenden.
SYSTEM INSTALLATION
EARTHING ALL METAL PARTS AND DRIVERS
• To further improve sound quality and/or to counteract
noise and hum issues the speakers feature 2mm earthing
sockets.
• All metal parts of the midrange driver (incl. driver mount-
ing plates, driver magnets baskets etc.) are internally con-
nected to the 2mm earthing socket of the midrange cover
❾–MID.
• All metal parts of the bass- and tweeter driver (incl. driver
mounting plates, driver magnets baskets etc.) are internally
connected to the earthing socket of the subwoofer amplifier
❾ and to the earthing pin of the subwoofer mains input
socket ⓬.
① Connect the 2mm earthing socket of the midrange
❾–MID with the earthing socket of the subwoofer ampli-
fier ❾ by using the earthing cable ⓰–EARTH. The earthing
cable is included in the accessory box.
As soon as the subwoofer mains ⓬ is connected to an
earthed 3–pin mains outlet, the earthing sockets are all au-
tomatically connected to the earth of your household power
line.
② If the subwoofer mains is connected to a 2–pin un-
earthed mains outlet or to possibly further improve the
sound quality it is recommended to as well connect the
earthing socket of the integrated– or pre–amplifier ⓱ (if
available) to the earthing socket of the subwoofer amplifier
❾ of the speaker system.
The required earthing cable for this connection is not in-
cluded with your speaker system. You can use any single–
pole cable of >0.5 square mm (ex. AWG 20).
13
