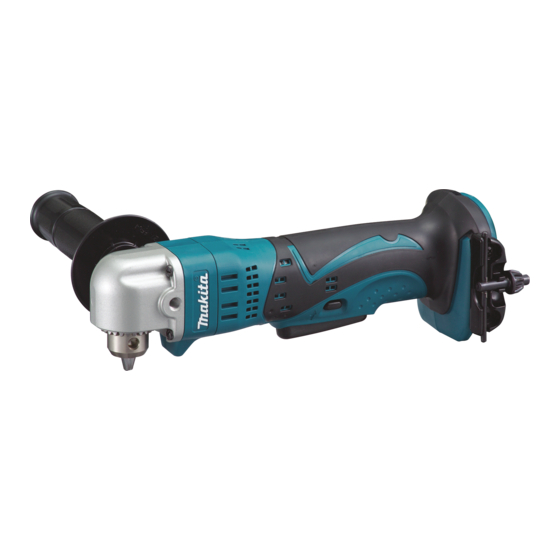
Makita BDA340 사용 설명서 - 페이지 5
{카테고리_이름} Makita BDA340에 대한 사용 설명서을 온라인으로 검색하거나 PDF를 다운로드하세요. Makita BDA340 9 페이지. Cordless angle drill
Makita BDA340에 대해서도 마찬가지입니다: 사용 설명서 (13 페이지), 사용 설명서 (8 페이지), 기술 정보 (7 페이지)

7.
Do not incinerate the battery cartridge even if
it is severely damaged or is completely worn
out. The battery cartridge can explode in a fire.
8.
Be careful not to drop or strike battery.
9.
Do not use dropped or struck battery.
SAVE THESE INSTRUCTIONS.
Tips for maintaining maximum battery life
1.
Charge the battery cartridge before completely
discharged.
Always stop tool operation and charge the
battery cartridge when you notice less tool
power.
2.
Never
recharge a fully charged
cartridge.
Overcharging shortens the battery service life.
3.
Charge the battery cartridge with room
temperature at 10 ゚ C - 40 ゚ C (50 ゚ F - 104 ゚ F).
Let a hot battery cartridge cool down before
charging it.
FUNCTIONAL DESCRIPTION
CAUTION:
Always be sure that the tool is switched off and the
•
battery cartridge is removed before adjusting or
checking function on the tool.
Installing or removing battery cartridge
1
2
008951
Always switch off the tool before insertion or
•
removal of the battery cartridge.
To remove the battery cartridge, withdraw it from
•
the tool while sliding the button on the front of the
cartridge.
To insert the battery cartridge, align the tongue on
•
the battery cartridge with the groove in the housing
and slip it into place. Always insert it all the way
until it locks in place with a little click. If you can
see the red part on the upper side of the button, it
is not locked completely. Insert it fully until the red
part cannot be seen. If not, it may accidentally fall
out of the tool, causing injury to you or someone
around you.
battery
1. Button
2. Red part
3. Battery cartridge
3
Do not use force when inserting the battery
•
cartridge. If the cartridge does not slide in easily, it
is not being inserted correctly.
Switch action
008955
CAUTION:
Before inserting the battery cartridge into the tool,
•
always check to see that the switch trigger
actuates properly and returns to the "OFF" position
when released.
To start the tool, simply pull the switch trigger. Tool
speed is increased by increasing pressure on the switch
trigger. Release the switch trigger to stop.
CAUTION:
Be sure to hold the tool firmly before the tool is
•
switched off.
Lighting up the front lamp
1
008953
CAUTION:
Do not look in the light or see the source of light
•
directly.
Pull the switch trigger to light up the lamp. The lamp
keeps on lighting while the switch trigger is being pulled.
The light automatically goes out 10 - 15 seconds after
the switch trigger is released.
NOTE:
Use a dry cloth to wipe the dirt off the lens of lamp.
•
Be careful not to scratch the lens of lamp, or it may
lower the illumination.
5
1. Switch lever
1
1. Lamp
