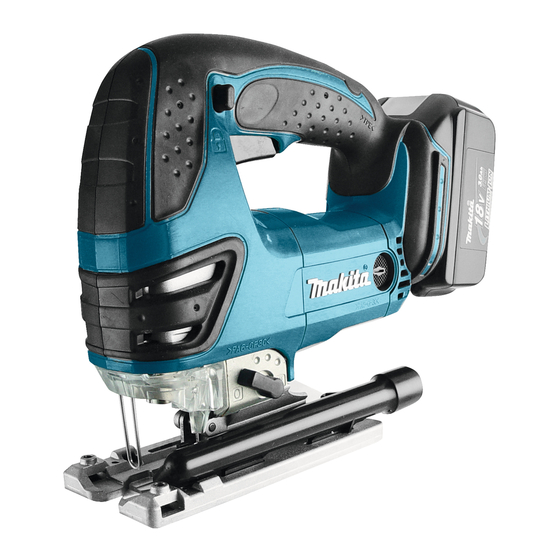
Makita BJV140 사용 설명서 - 페이지 6
{카테고리_이름} Makita BJV140에 대한 사용 설명서을 온라인으로 검색하거나 PDF를 다운로드하세요. Makita BJV140 13 페이지. Cordless jig saw
Makita BJV140에 대해서도 마찬가지입니다: 사용 설명서 (13 페이지), 사용 설명서 (13 페이지), 기술 정보 (13 페이지), 사용 설명서 (18 페이지)

Switch action
1
007484
1
B
007485
CAUTION:
Before inserting the battery cartridge into the tool,
•
always check to see that the switch trigger
actuates properly and returns to the "OFF" position
when released.
When not operating the tool, depress the lock-off
•
button from A side to lock the switch trigger in the
OFF position.
To prevent the switch trigger from accidentally pulled,
the lock-off button is provided.
To start the tool, depress the lock-off button from B side
and pull the switch trigger.
Tool speed is increased by increasing pressure on the
switch trigger. Release the switch trigger to stop. After
use, always press in the lock-off button from A side.
Lighting up the lamps
CAUTION:
Do not look in the light or see the source of light
•
directly.
To turn on the lamp, pull the trigger. Release the trigger
to turn it off.
NOTE:
Use a dry cloth to wipe the dirt off the lens of lamp.
•
Be careful not to scratch the lens of lamp, or it may
lower the illumination.
1. Lock-off button
2
2. Switch trigger
1. Lock-off button
A
ASSEMBLY
CAUTION:
Always be sure that the tool is switched off and the
•
battery cartridge is removed before carrying out
any work on the tool.
Installing or removing saw blade
CAUTION:
Always clean out all chips or foreign matter
•
adhering to the blade and/or blade holder. Failure
to do so may cause insufficient tightening of the
blade, resulting in a serious personal injury.
Do not touch the blade or the workpiece
•
immediately
extremely hot and could burn your skin.
Tighten the saw blade securely. Failure to do so
•
may cause a serious injury.
When you remove the saw blade, be careful not to
•
hurt your fingers with the top of the blade or the tips
of workpiece.
To install the blade, open the tool opener to the position
shown in the figure.
1
001909
Keeping that situation, insert the saw blade into the
blade clamp as far as the two protrusions of the blade
can not be seen.
1
2
001910
Return the tool opener to its original position.
After installing, always make sure that the blade is
securely held in place by trying to pull it out.
CAUTION:
Do not open the tool opener excessively, or it may
•
cause tool damage.
6
after
operation;
they
1. Tool opener
1. Blade clamp
3
2. Jig saw blade
3. Protrusions
may
be
