ALIBI ALI-NS1132VR 빠른 설치 매뉴얼
{카테고리_이름} ALIBI ALI-NS1132VR에 대한 빠른 설치 매뉴얼을 온라인으로 검색하거나 PDF를 다운로드하세요. ALIBI ALI-NS1132VR 7 페이지. 2mp ip dome camera
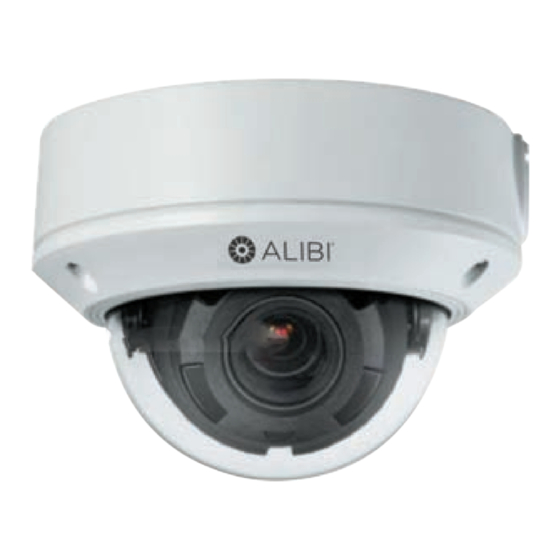
ALI-NS1132VR 2MP IP Dome
Camera Quick Installation Guide
This document guides you through the basic steps to install and configure the ALI-NS1132VR camera. This
camera features:
2 MP (1920 × 1080) video @ 30 fps
•
2.8 ~ 12 mm motorized vari-focal lens with auto-focus, 98° (wide) - 34° (tele) horizontal FOV
•
H.265+, H.265, H.264+, H.264 HD compression
•
True 3-axis gimbal provides flexible mounting (wall or ceiling) and camera positioning
•
100' Full Frame Smart IR
•
120 dB Wide Dynamic Range (WDR)
•
Dual power capable - Power over Ethernet (PoE) or 12 Vdc
•
Weatherproof - IP67 rated and Vandalproof - IK10 rated, TVS 2000V protection
•
Internal microSD card storage up to 128GB (card not provided)
•
Compatible with the following brackets: ALI-AF5, ALI-AJ5, ALI-AB1, ALI-AB2, ALI-AB3, ALI-AA1,
•
ALI-AA2
For more information, refer to these documents - available from your equipment vendor:
ALIBI™ Witness and ALIBI™ Witness HD Apps for Android - Quick Start Guide
•
ALI-IP Camera Software User Manual
•
Lower
dome
assembly
Dome
assembly
Lens
Black liner
Conduit
terminal
Camera without dome assembly
microSD card slot
Camera without dome and black linker - back of camera module
* RESET: To restore the camera to its default settings, hold down the RESET button for about 10 seconds
NOTE
when the camera is powering on or rebooting. Reset will deactivate the camera and restore the default IP
address, port number, configuration settings, etc.
www.observint.com
1
Camera
module
What's in the box
Your camera includes this document and the items shown below.
mount drill
Reset button"
Step 1.
Install a microSD card in the camera to save alarm and status information locally, and to locally save video
and captures files. The storage card can be a microSD/SDHC/SDXC card, up to 128GB. NOTE: The card can
be formatted within the camera, if necessary. To install the card:
1.
2.
Safety cable
(attaches to
dome assembly
Gimbal tilt
lock screw
Holes for dome
assembly screws (3)
Camera without dome and liner - top view
Holes for mounting
screws (3)
Drop cable for
LAN, power
Camera with dome cover removed
12 Vdc power connector with protective plug
Camera drop cable
Surface
template
Install a microSD card (optional)
Set the camera dome up on a clean flat surface.
Use the L-wrench provided to fully loosen the dome captive screws, and then lift the dome
assembly off the camera. The dome assembly is connected to the camera with a safety cable. Set
the dome assembly to the side, being carefully to not scratch the clear plastic.
Gimbal tilt
lock screw
Camera gimbal
tilt pivot point
Mounting screw
holes (3)
Ground
terminal
Conduit
port
Ethernet connector -
PoE capable
ALI-NS1132VR_CQ
Security
L-wrench
Weatherproof
LAN coupling
Mounting
hardware
packet
190506