JAMO 3S 사용자 설명서 - 페이지 2
{카테고리_이름} JAMO 3S에 대한 사용자 설명서을 온라인으로 검색하거나 PDF를 다운로드하세요. JAMO 3S 9 페이지. Indoor/outdoor speakers
JAMO 3S에 대해서도 마찬가지입니다: 빠른 매뉴얼 (4 페이지)
Congratulations on your purchase of
Jamo Indoor/Outdoor speakers
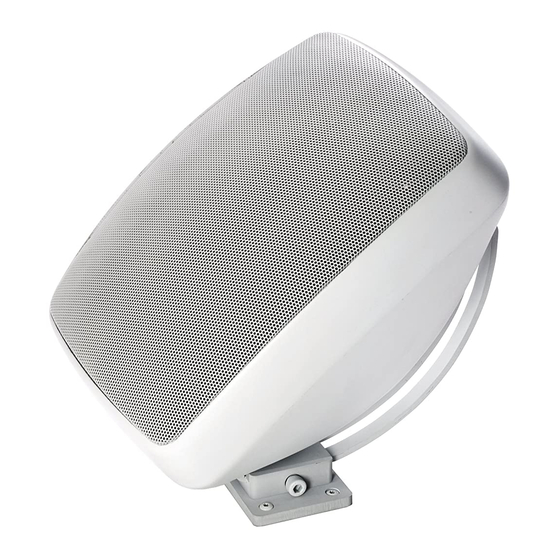
Package content.
Speaker (2)
Assembled bracket (2)
Package content
Screw plug "g" (8)
Speaker (2)
Assembled bracket (2)
Screw plug "g" (8)
Bracket.
The brackets comes pre-assembled. If disassembling the bracket for pai
Bracket
ing, re-assemble it as follow: Place the curved bracket (a) between the w
The brackets comes pre-assembled. If disassembling the bracket for paint-ing, re-assemble it
as follow: Place the curved bracket (a) between the wall bracket (b) and wall bracket cover
bracket (b) and wall bracket cover (c) as shown in fig. 1. Insert two 1" al
(c) as shown in fig. 1. Insert two 1" allen bolts (d) through wall bracket into wall bracket cover
bolts (d) through wall bracket into wall bracket cover and tighten with t
and tighten with the supplied allen wrench. Insert two ½" allen bolts (e) into each side of wall
bracket and tighten towards curved bracket.
supplied allen wrench. Insert two ½" allen bolts (e) into each side of w
bracket and tighten towards curved bracket.
Fig. 1
Mounting of bracket.
Mounting of bracket
The bracket can be mounted for horizontal or vertical placement of t
The bracket can be mounted for horizontal or vertical placement of the speaker. Mount the
bracket with four screws (not included) appropriate for the surface the bracket is mounted to
speaker. Mount the bracket with four screws (not included) appropriate
(wood, brick, concrete or other). Take into account the weight of the speaker (specifications on
the surface the bracket is mounted to (wood, brick, concrete or other). Ta
back). A hole (f ) in the middle of the bracket allows for running the speaker wire through the
bracket if so desired. Cover the screws with four screw plugs (g) fig. 2.
into account the weight of the speaker (speci cations on back). A hole (f)
the middle of the bracket allows for running the speaker wire through t
Mounting of port plugs
bracket if so desired. Cover the screws with four screw plugs (g) fig. 2.
If the front of the speaker is exposed to rain directly entering the bass reflex ports (under the
grill), the ports should be closed to avoid filling the speaker with water. High moisture is not a
problem. Remove the grill (h) from the speaker and insert two port plugs (i) into the bass ports.
Mounting of port plugs.
Re-install the grill. The speaker will reproduce less bass with the ports closed.
If the front of the speaker is exposed to rain directly entering the bass re
ports (under the grill), the ports should be closed to avoid lling t
speaker with water. High moisture is not a problem. Remove the grill
2
from the speaker and insert two port plugs (i) into the bass ports. Re-ins
the grill. The speaker will reproduce less bass with the ports closed.
Congratulations on your purchase of
Jamo Indoor/Outdoor speakers.
Port plug "i" (4)
Thumb screw "j" (4)
Covers "k" (4)
a
e
c
Port plug "i" (4)
Thumb screw "j" (4)
Covers "k" (4)
Allen wrench (1)
Manual (1)
f
Allen wrench (1
Manual (1)
d
d
b
Fig. 1
e