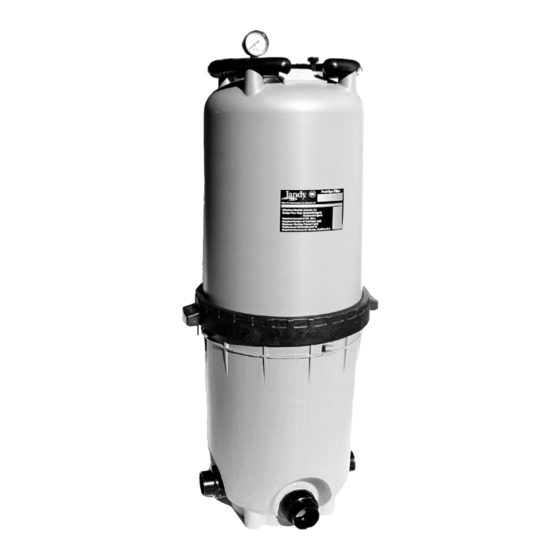
Jandy CJ250 설치 및 운영 매뉴얼 - 페이지 10
{카테고리_이름} Jandy CJ250에 대한 설치 및 운영 매뉴얼을 온라인으로 검색하거나 PDF를 다운로드하세요. Jandy CJ250 16 페이지. Cartridge pool/spa filters

Page 10
5.2 Changing the Outlet Port
1.
Follow steps 1 thru 6 under Section 5.1, "Filter
Element Removal".
2.
Remove the three (3) screws holding the Breather
Tube Support. Slide the Support off of the tank rib.
The bottom of the Breather Tube will stay in the
Plenum (see Fig. 7).
WARNING
It is important that the breather tube is fully seated
into the adapter. If the breather tube is not in stalled
properly, unwanted high pressure can cause the filter
lid to be blown off, which can cause death, serious
personal injury or prop er ty damage.
Breather
Tube must
be fully
seated into
the adapter
Outlet
Port
Figure 7.
Changing the Outlet Port, Cross Section
3.
Remove the single screw holding the Plenum in
place. Grasp the Plenum Adapter and pull the
assembly out of the tank. Clean the bottom of the
tank (see Fig. 8 ).
4.
Rotate the Plenum Assembly to the desired
position. With the Plenum Assembly in place, push
down until it is seated.
5.
Place the screw into the Plenum Assembly and
hand tighten the screw.
Filter Cross Section
Plenum
Factory
Outlet
Position
Breather
Tube
Assembly
Single Screw
Holding Plenum
Assembly
Figure 8.
Changing the Outlet Port
6.
Slide the Breather Tube Support onto the correct
rib inside the tank bottom. Place the three (3)
screws into the support and hand tighten the
screws. Do not use a wrench.
7.
Follow steps 7 thru 10 under Section 5.1, "Filter
Element Removal".
8.
Follow the steps in Section 4.1, "New Pool and
Seasonal Start-Up".
9.
You will need to relabel the Inlet, Outlet and Drain
ports. Label kits (part #R0560600) are available
from Jandy by calling 707-776-8200 ext. 237.
Optional
Outlet
Positions
Plenum
Assembly
