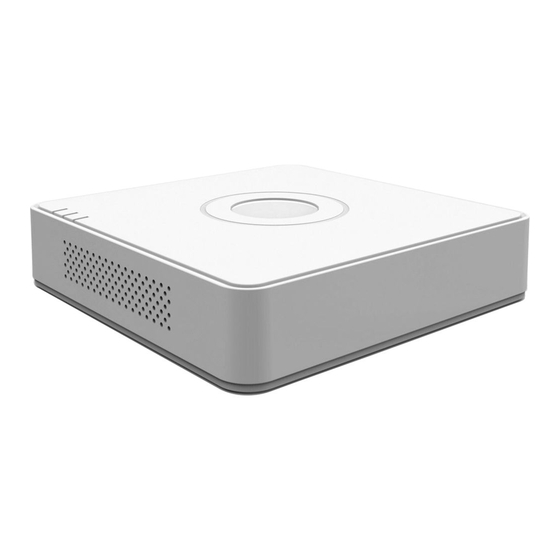
HIKVISION DS-7104NI-SL/W 빠른 시작 매뉴얼 - 페이지 7
{카테고리_이름} HIKVISION DS-7104NI-SL/W에 대한 빠른 시작 매뉴얼을 온라인으로 검색하거나 PDF를 다운로드하세요. HIKVISION DS-7104NI-SL/W 13 페이지. Nvr

First Choice For Security Professionals
6. Network Connection
Network Connection
Using Web Browsers
All Hikvision products use the default IP address of 192.0.0.64
1. Connect a CAT5 or CAT6 cable from the NVR to a PC or Laptop computer.
Note your laptop or PC computers existing address, such as:
IP:
Subnet:
2. Open web browser.
3. In the address bar, type 192.0.0.64
If prompted, allow the installation of the Hikvision application.
It may be necessary to add this IP address as a Trusted Site with Low Security.
4. Login to the DVR:
Username: admin
Password: 12345
5. Go to the Configuration tab, and then Remote Configuration menu.
6. Click on Network Settings.
7. Enter the IP address you wish to assign to the NVR, then SAVE.
8. Reset your laptop or PC to its original IP address, subnet and gateway.
9. Type the new address in web browser.
Using Hikvision iVMS 4200 Software
If possible, check
http://www.hikvision.com/
If internet access is not available, install the software from the CD.
Then follow the instructions included with the software.
192.0.0.62
255.255.255.0
for the latest version of the iVMS4200 client software.
