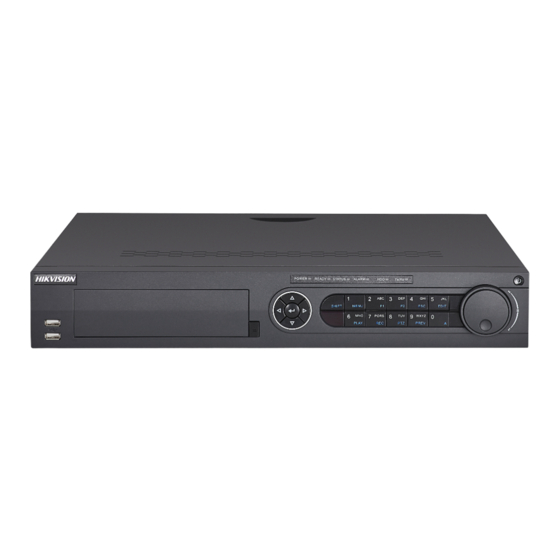
HIKVISION DS-7316HUHI-K4 빠른 시작 매뉴얼 - 페이지 7
{카테고리_이름} HIKVISION DS-7316HUHI-K4에 대한 빠른 시작 매뉴얼을 온라인으로 검색하거나 PDF를 다운로드하세요. HIKVISION DS-7316HUHI-K4 17 페이지.

Step 4 (Optional) Repeat the steps above to install other HDDs.
Step 5 Close the front panel and lock it with key.
2.2.3 Fix-on-Bottom Installation
Fix-on-bottom installation is applicable when you need to install and fix the HDD on the device bottom.
Step 1 Remove the cover from device
by unfastening the screws on
panels.
Step 2 Connect the data cable and
power cable.
1) Connect one end of data cable to
the device motherboard.
Step 4 (Optional) Repeat the steps above to install other HDDs.
Step 5 Reinstall the device cover and fasten screws.
2.3 RS-485 and Controller Connection
To connect PTZ to the DVR:
Step 1 Disconnect pluggable block from the
RS-485 terminal block.
Step 2 Press and hold the orange part of the
pluggable block, insert signal cables
into slots, and release the orange
part. Ensure signal cables are in tight.
Step 3 Connect A+ on PTZ to D+ on terminal
block and B- on controller to D- on
terminal block. Fasten stop screws.
Step 4 Connect pluggable block back into
terminal block.
Digital Video Recorder Quick Start Guide
2) Connect the other end of data
cable to HDD.
3) Connect one end of power cable
to HDD.
4) Connect the other end of power
cable to the device motherboard.
Typical Connection:
Make sure both the controller and DVR are grounded.
Figure 2-1 Controller Connection A
6
Step 3 Set the device up,
match HDD screw
threads with the
reserved holes on the
device bottom, and fix
HDD with screws.
