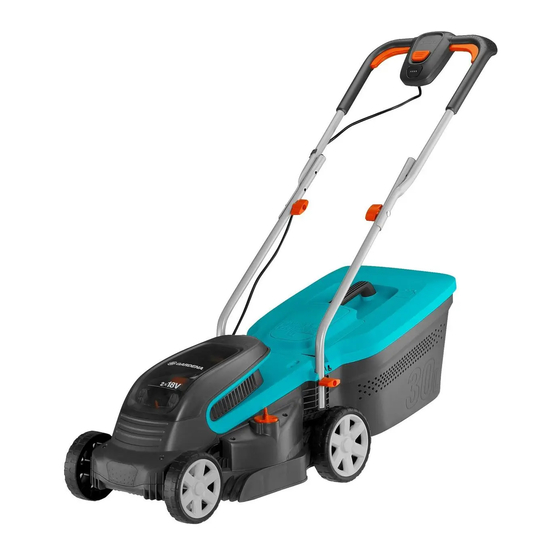
Gardena 14621 운영자 매뉴얼 - 페이지 7
{카테고리_이름} Gardena 14621에 대한 운영자 매뉴얼을 온라인으로 검색하거나 PDF를 다운로드하세요. Gardena 14621 11 페이지.

4. Stop the mower.
5. Lift the protective flap
.
a
6. Remove the grass box by the handle
7. Empty the grass box.
To start the mower [ Fig. O1 /O7 ]:
DANGER! Risk of injury!
Risk of injury if the product does not stop when you
release the start lever.
v Do not bypass the safety devices or switches. For example do
not attach the start lever to the handle.
To start:
The product is provided with a two-handed safety device
(start lever and safety interlock) to prevent the product from
being turned on by accident.
There are two start levers
. Either one has to be used to start.
u
We recommend not to use 2 batteries of different capacity.
1. Open the lid
.
i
2. Put the batteries
into the battery holder
Y
3. Put the safety key
into the mower and turn to position 1.
o
4. Push the safety interlock
with one hand and pull the start lever
z
with the other hand. The mower starts and the battery charge status
N
indication
is displayed for 5 seconds.
5. Release the safety interlock
z
To stop:
1. Release the start lever
.
u
The mower stops.
2. Turn the safety key
to positon 0 and remove it to prevent the
o
battery from discharging.
Tips to use the mower:
If grass residue is left in the discharge opening, pull the mower backwards
about 1 m so that the grass residue can drop out downwards.
To produce a well-maintained lawn, we recommend to cut the lawn
regularly once a week if possible. The lawn becomes denser if you cut it
frequently.
After relatively long cutting intervals (holiday lawn), first of all cut in one
direction with the highest cutting height and then cut in the crosswise
direction with the required cutting height.
If possible, only cut the grass when it is dry, if the grass is damp, the
cutting pattern will be uneven.
Cutting performance and battery charge:
The lawn area which can be cut on each battery charge depends on
several factors such as moisture, grass density and cutting height. In order
to ensure an optimal use of space, do not turn the mower on and off too
frequently as this severely reduces the battery running time. The cutting
performance for each battery charge can be ideally utilised by increasing
the cutting height and frequent mowing.
4. MAINTENANCE
DANGER! Risk of injury!
Cut injury when the product starts accidentally.
v Wait for the blade to stop, remove the safety key and use
gloves before you maintain the product.
To clean the mower:
DANGER! Risk of injury!
Risk of injury and risk of damage to the product.
v Do not clean the product with water or with a water jet
(in particular high-pressure water jet).
v Do not clean with chemicals including petrol or solvents.
Some can destroy critical plastic parts.
The airflow slots must always be clean.
To clean the underside of the mower [ Fig. M1 ]:
The underside is easiest to clean after you mowed.
1. Lay the mower on its side carefully.
12
.
q
until they audibly engage.
C
.
2. Clean the underside, the blade and the discharge opening
a brush (do not use sharp objects).
To clean the overside of the mower and the grass box:
1. Clean the overside with a damp cloth.
2. Clean the airflow slots and the grass box with a soft brush
(do not use sharp objects).
To clean the battery and the battery charger:
Make sure that the surface and the contacts of the battery and the battery
charger always are clean and dry before you connect the battery charger.
Do not use running water.
v Battery charger: Clean the contacts and the plastic parts with a soft
and dry cloth.
v Battery: Occasionally clean the ventilation slots and the terminals on
the battery using a soft brush that is clean and dry.
5. STORAGE
To put into storage [ Fig. S1 ]:
The product must be stored away from children.
1. Turn the safety key to position 0 and remove it to prevent the
battery from discharging.
u
2. Remove the battery.
3. Charge the battery.
4. Clean the mower, the battery and the battery charger
(see 4. MAINTENANCE).
5. To save space, loosen the wing nuts
together easily.
Make sure that the cable is not locked between the lower and the
upper handle.
6. Store the mower, the battery and the battery charger in a dry, enclosed
and frost-free place.
Disposal:
(in accordance with RL2012/19/EC)
The product must not be disposed of to normal household
waste. It must be disposed of in line with local environmental
regulations.
IMPORTANT!
v Dispose of the product through or via your municipal recycling collection
centre.
Disposal of the battery:
The GARDENA battery contains lithium-ion cells that should not
be disposed of with normal household waste at the end of its life.
Li-ion
IMPORTANT!
v Dispose of the batteries through or via your municipal recycling
collection centre.
1. Discharge the lithium-ion cells completely (contact the GARDENA
Service).
2. Protect the contacts on the lithium-ion cells against short circuits.
3. Dispose of the lithium-ion cells properly.
6. TROUBLESHOOTING
DANGER! Risk of injury!
Cut injury when the product starts accidentally.
v Wait for the blade to stop, remove the safety key and
use gloves before you troubleshoot the product.
To replace the blade:
DANGER! Risk of injury!
Cut injury when the blade turns and it is damaged, bent,
out of balance or has chipped edges.
v Do not use the mower when the blade is damaged, bent, out
of balance or has chipped edges.
v Do not regrind the blade.
The GARDENA spare parts are available from your GARDENA dealer
or from the GARDENA service.
with
d
until the handle can be folded
6
