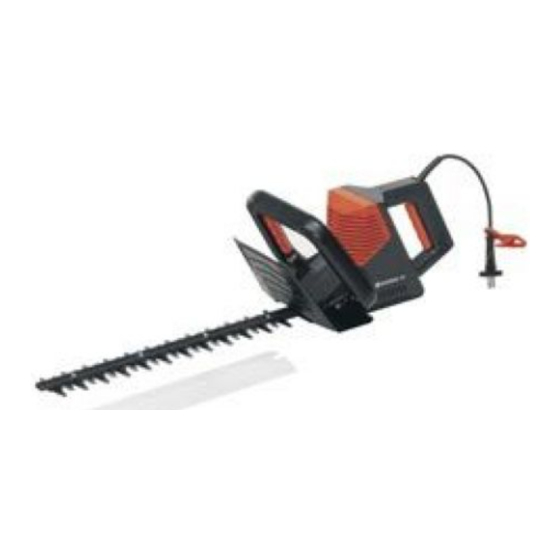
Gardena EasyCut 400 사용 설명서 - 페이지 5
{카테고리_이름} Gardena EasyCut 400에 대한 사용 설명서을 온라인으로 검색하거나 PDF를 다운로드하세요. Gardena EasyCut 400 14 페이지. Gardena electric hedge trimmer operating instructions
Gardena EasyCut 400에 대해서도 마찬가지입니다: 사용 설명서 (10 페이지), 사용 설명서 (10 페이지), 사용 설명서 (10 페이지), 사용 설명서 (7 페이지), 사용 설명서 (10 페이지), 사용 설명서 (15 페이지), (프랑스어) 사용 설명서 (8 페이지)
Setting the working position :
C
B
D
Setting the trimmer
to body height :
G
E
F
Adjusting the plant guard :
14
A
Working position 1 :
Trimming without
wheels
The angle of the handle can be set to 3 working positions.
1. Push slider
working position (see scale
2. Let the slider
Setting the handle length :
v Open clamping lever
required handle length and close clamping lever
ATTENTION ! With EasyCut 400 / 480, ensure that when
adjusting the handle length the upper part of the handle
is not twisted.
Adjusting the additional handle :
v Press adjusting buttons in
8
handle
F
again.
When the trimmer is set to the correct body size, the body
is upright and the cutting head is angled slightly forwards in
working position.
v Hold the trimmer on the upper part of the handle
additional handle
angled forwards slightly.
H
Working position
v Turn plant guard
it locks into place.
ATTENTION !
Overloading of the motor.
V When trimming with wheels, working position 2
must be set.
Working position 2 :
Trimming with
wheels
B
up and set the handle
D
B
lock into the required working position.
E
, extend upper part of handle
F
G
to required angle and release the adjusting buttons
G
in such a way that the cutting head is
H
through 180° into the required position until
Working position 3 :
Trimming under
obstacles
C
to the required
).
E
again.
on both sides, set additional
8
Parking position
8
to
8
and
H