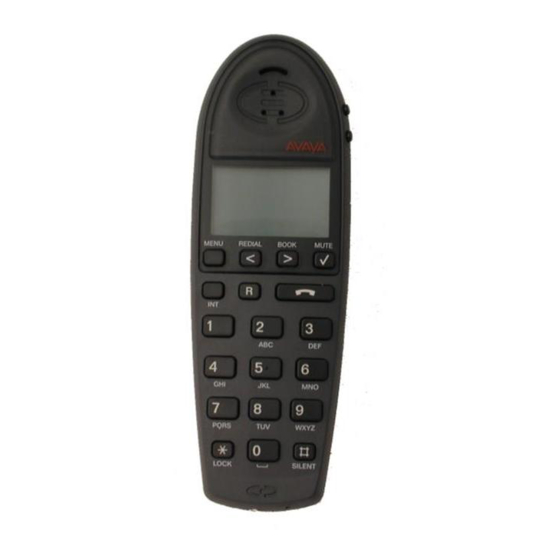
Avaya IP Office 20DT 사용자 설명서 - 페이지 6
{카테고리_이름} Avaya IP Office 20DT에 대한 사용자 설명서을 온라인으로 검색하거나 PDF를 다운로드하세요. Avaya IP Office 20DT 18 페이지.
Avaya IP Office 20DT에 대해서도 마찬가지입니다: 사용자 설명서 (18 페이지), 사용자 설명서 (18 페이지)

Page 6 - Subscribing
Subscribing
Introduction
Subscribing to a System
Switching Between Systems
Page 6 - Introduction
For 20DT handsets to be connected to a DECT system they have to go through a
process called 'subscription'. In addition, each 20DT must be both registered on
each system and the subscription allowed. Your system manager will do this and
also allocate an extension number to you. To do this they need to known the
handset's serial number. This is shown on a label covered by the handset
battery. Remove handset back cover and lift out battery unit to show label. The
serial number follows the characters SN:. Alternatively, on latter models, you do
not have to remove the back cover. Simply key *999*84* and press
Logging On:
The 20DT can subscribe to a maximum of ten DECT systems (four on older
systems). However, the 20DT can only be logged onto one of these systems at
any one time. If these systems are out-of-range of each other, e.g. in another
building, you can set the 20D to automatically log on to the other system when
you get in range (see page 7).
To subscribe to a system the following information (provided by your system
manager) is required:
• The ID number of the DECT system
• An account code if necessary.
To subscribe to a system:
1. Press MENU and then > until LOGIN appears, then press
appears
2. Press > until SUBSCRIPTION CREATE appears, then press
3. SEARCH ID appears. Press > until required system ID number appears.
(The system ID is printed on the back of the Compact DECT Base Station).
The handset displays the ID's of any systems in range. If there are several
systems locally, use < and > to display the different ID numbers found.
4 When the required system ID is displayed, press
5. Press > until CREATE SYSTEM 1 appears, press > until required SYSTEM
number appears.
6. When the required SYSTEM number appears.
7. AC: _ _ _ _ _ _ also appears.
If required enter an Account Code and/or press
8. SUBSCRIPTION WAIT appears. If for some reason your handset cannot
subscribe it displays FAILED. Press
MENU to stop.
9. When successfully subscribed, your handset bleeps and your extension
number is displayed.
If your 20DT has been registered on several local systems, you can select which
system to currently use. Simply repeat Subscribing to a System on page 6,
selecting the required system to log on to. Alternatively, if your 20DT has been
registered on other remote (at other locations) systems, you can select the Auto
Subscribe option (see page 7) on your 20DT. Hence, when you move between
the two locations your 20DT will automatically subscribe itself to the new system.
.
.
to try again from step 2 above or press
IP Office - 20DT Handset User's Guide
40DHB0002UKCH Issue 4 (27th October 2003)
.
. SELECT LOGIN
.
