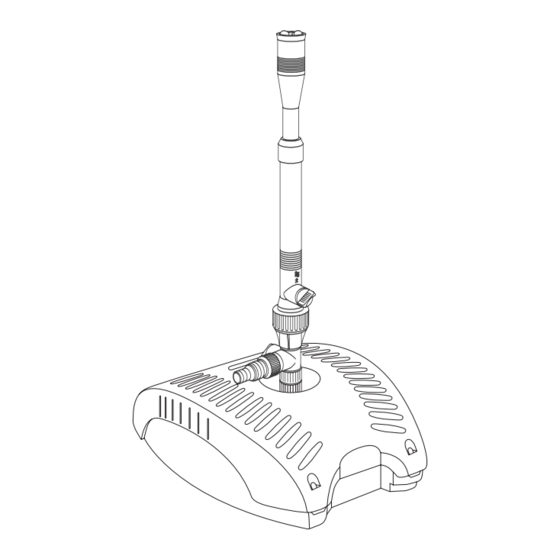
Gardena FFP 3000 사용 설명서 - 페이지 3
{카테고리_이름} Gardena FFP 3000에 대한 사용 설명서을 온라인으로 검색하거나 PDF를 다운로드하세요. Gardena FFP 3000 11 페이지. Underwater filter with fountain pump set
Gardena FFP 3000에 대해서도 마찬가지입니다: 사용 설명서 (10 페이지)

Data indicated on the type plate must match
technical data of the mains supply.
v Keep mains plug dry.
Please unplug the pump after operation and
before carrying out any maintenance works.
The pump must not be operated when there
are people in the water. Swimming pools
and garden ponds should be designed
according to international and national
design regulations.
v Please consult a professional electrician.
For Austria :
Pumps for use on swimming pools and on
ponds may only be operated via an isolating
transformer.
v Please consult a professional electrician.
For Switzerland :
In Switzerland mobile appliances which are
used outdoors, must be connected via a
residual-current device.
3. Assembly
A
Installing underwater
filter:
4
a
b
7
2
1
10
The stepped nipple (½ " / ¾ " )
example, to a gargoyle.
1. Screw the T-piece
2. Screw the stepped nipple
3
T-piece
3. Install the ball joint: place ball
c
on threaded ring
a
3. Screw the ball joint
b
4. Push the nozzle tube
the sleeve
6
5. Snap the nozzle tube
6. Screw required fountain insert
nozzle tube
a) Cascade
Note :
Do not allow the pump to run without
water because dry-running leads to an
undesirable build up of heat and will
destroy the pump.
Before operating the pump, look to see if
there is any damage to the pump (esp.
regarding power cable and plug).
The connection cable of the pump cannot be
replaced. If the cable is damaged the pump
must be scrapped.
Do not use the power cable to carry the pump
or to pull the plug out of the socket.
Protect the power cable from heat, oil and
sharp edges.
The temperature of the liquid used must not
be below 4 °C or above 35 °C.
Sand and other abrasive substances in the
liquid cause increased wear and reduce the
output of the pump.
Please observe the local noise prevention
regulations.
6
can be used for connection, for
7
onto the adapter
6
onto the side outlet of the
7
.
c
.
2
onto the T-piece
3
onto the telescopic handle
a
.
3
into the ball joint
3
.
b) Water Bell
c) Fleur-de-Lis
1
.
a
b
in ball holder
and screw
7
.
b
2
.
4
a) / b) / c) / d) fully into the
d) Water Jets
up to
